> ## Documentation Index
> Fetch the complete documentation index at: https://docs.levelblue.com/llms.txt
> Use this file to discover all available pages before exploring further.
# Quick Start Guide for GCP Sensor
## Pre-installation Checklist
* Cloud Deployment Manager template provided by LevelBlue to create all required Google Cloud Platform (GCP) resources for deployment, including an instance, volume, and firewall rules for use by the USM Anywhere Sensor instance.
* Privileged user account in GCP with Compute Engine permissions, permission to create and edit service accounts, as well as write permission to the Deployment Manager.
* A standard instance with 2 vCPUs and 7.5 GB of memory.
* Zonal SSD persistent disk 50GB to have reliable network storage that your instances can access like physical disks. A 50GB volume is designated as the default size for optimal performance.
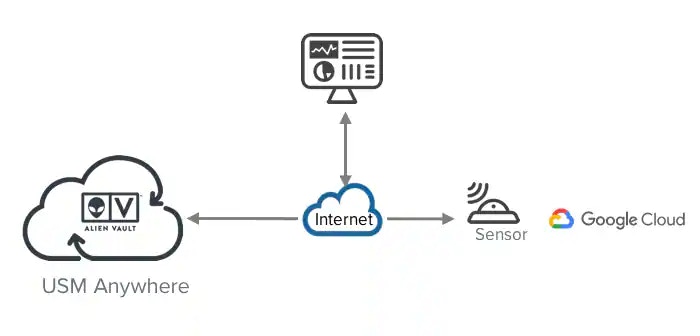
* Internet connection to the USM Anywhere secure cloud. See [Sensor Ports and Connectivity](../deployment-guide/gcp/gcp-requirements) for more information.
* Enable required APIs to allow the features dependent on them to operate as designed. See [Enable Required APIs](../deployment-guide/gcp/preparing-gcp-env-for-deployment) for more information.
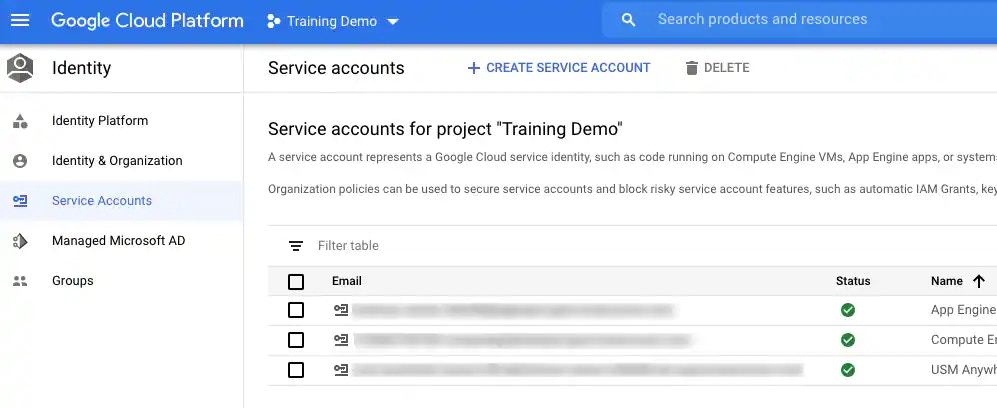
* Create a new service account. The sensor deploys with the created service account and then USM Anywhere grants permissions to other projects.
* If the pre-defined roles Project: Viewer and Pub/Sub: Pub/Sub Subscriber are too broad for your use, or are otherwise unsuitable for you, you can define a new role whose access is limited according to your needs. See [Creating a Custom Role](../deployment-guide/gcp/custom-role-gcp) for more information.
* Keep the SSH private key and provide the public key to the sensor.
## GCP Sensor Deployment
 See [GCP Sensor Deployment](../deployment-guide/gcp/about-gcp-sensor-deployment) for detailed information about how to deploy a GCP Sensor. The main steps are outlined below:
## 1. Prepare Your GCP Environment
You must complete both of the following tasks before deploying a GCP Sensor in your environment:
* Enable Required APIs to allow the features dependent on them to operate as designed. See [Enable Required APIs](../deployment-guide/gcp/preparing-gcp-env-for-deployment) for more information.
* Create a new service account. The sensor deploys with the created service account and then USM Anywhere grants permissions to other projects. See [Create a New Service Account](../deployment-guide/gcp/preparing-gcp-env-for-deployment) for more information.
See [GCP Sensor Deployment](../deployment-guide/gcp/about-gcp-sensor-deployment) for detailed information about how to deploy a GCP Sensor. The main steps are outlined below:
## 1. Prepare Your GCP Environment
You must complete both of the following tasks before deploying a GCP Sensor in your environment:
* Enable Required APIs to allow the features dependent on them to operate as designed. See [Enable Required APIs](../deployment-guide/gcp/preparing-gcp-env-for-deployment) for more information.
* Create a new service account. The sensor deploys with the created service account and then USM Anywhere grants permissions to other projects. See [Create a New Service Account](../deployment-guide/gcp/preparing-gcp-env-for-deployment) for more information.
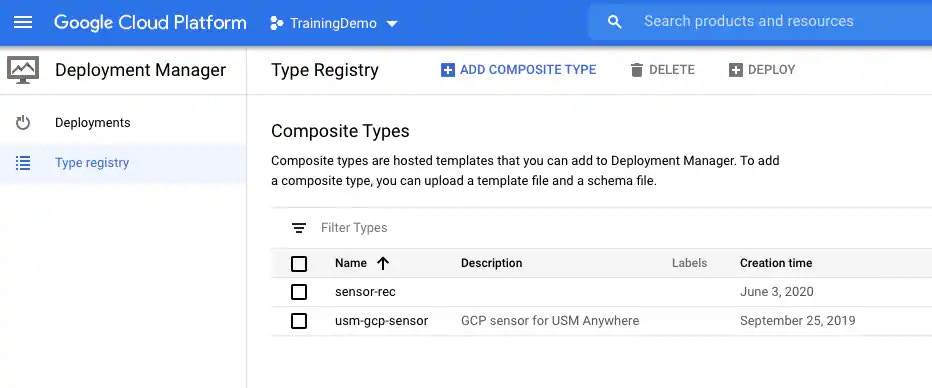
 ## 2. Create the Sensor
You must create a new sensor in the GCP console. Launch the USM Anywhere product from the GCP console using the Google Cloud Deployment Manager template.
## 2. Create the Sensor
You must create a new sensor in the GCP console. Launch the USM Anywhere product from the GCP console using the Google Cloud Deployment Manager template.
 See [Deploy the GCP Sensor](../deployment-guide/gcp/manually-deploying-gcp-sensor) for more information.
## 3. Connect the Sensor to USM Anywhere
After deploying the sensor, you must connect it to USM Anywhere through registration and configure the initial login credentials.
See [Deploy the GCP Sensor](../deployment-guide/gcp/manually-deploying-gcp-sensor) for more information.
## 3. Connect the Sensor to USM Anywhere
After deploying the sensor, you must connect it to USM Anywhere through registration and configure the initial login credentials.
 See [Connect the GCP Sensor to USM Anywhere](../deployment-guide/gcp/gcp-sensor-setup) for more information.
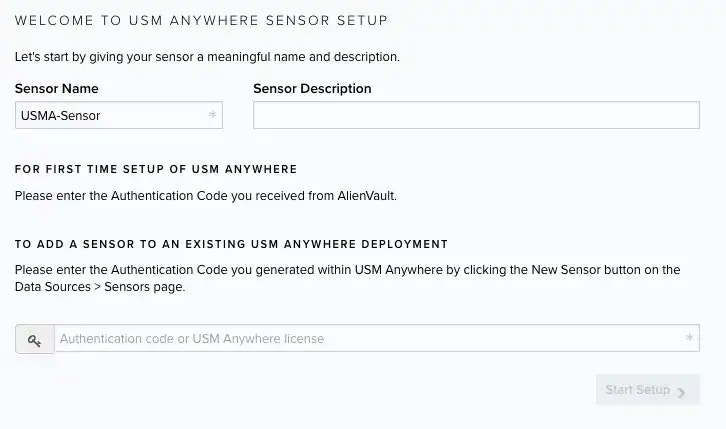
## 4. Launch the Setup Wizard
See [Connect the GCP Sensor to USM Anywhere](../deployment-guide/gcp/gcp-sensor-setup) for more information.
## 4. Launch the Setup Wizard
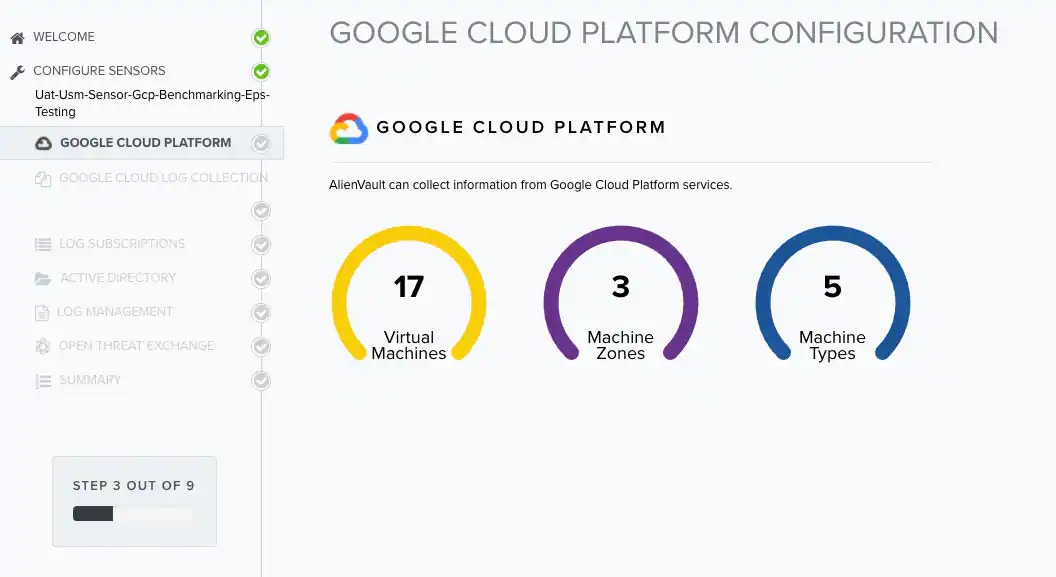 See [Complete the GCP Sensor Setup](../deployment-guide/gcp/configure-sensor-gcp) for more information.
## 5. Start Using USM Anywhere
See [Complete the GCP Sensor Setup](../deployment-guide/gcp/configure-sensor-gcp) for more information.
## 5. Start Using USM Anywhere
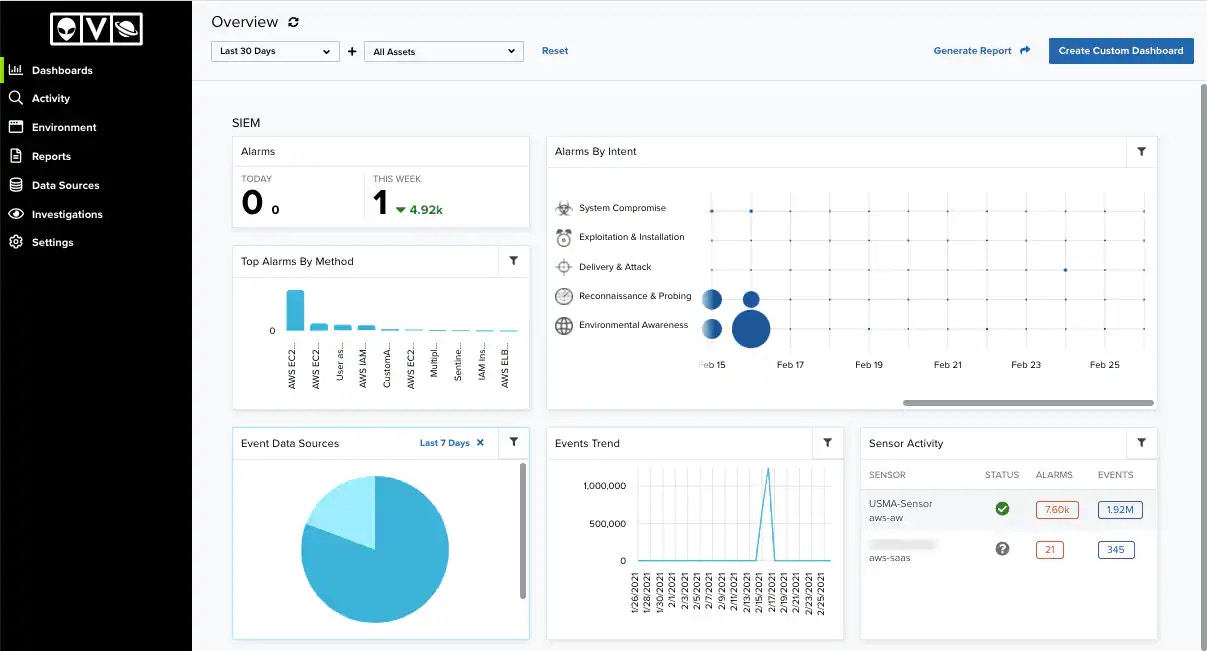 See [USM Anywhere User Guide](/documentation/usm-anywhere/user-guide/introduction) for more information.