> ## Documentation Index
> Fetch the complete documentation index at: https://docs.levelblue.com/llms.txt
> Use this file to discover all available pages before exploring further.
# Raw Logs in Events
USM Anywhere archives raw event data as logs. Raw logs are an invaluable asset for forensic analysis and compliance mandates. You can download raw logs for review and find details about specific incidents, search the logs for instances using a specific IP address, or analyze the patterns of multiple attacks.
USM Anywhere enables you to configure the Raw Log column when viewing events or download raw logs from events.
**To add the Raw Log column when viewing events**
1. From the Events List view, click the  icon to open the Columns Configuration dialog box.
2. Enter **raw** in the search field of the available columns.
3. Use the
icon to open the Columns Configuration dialog box.
2. Enter **raw** in the search field of the available columns.
3. Use the  icon to pass the Raw Log column from one side to the other.
4. Click **Apply**.
**Note:** If you want to keep your configuration, you need to save it by selecting **Save View > Save as**. Otherwise, your custom view will not be kept when you move to another page.
**To download Raw Logs**
1. Go to **Activity > Events**.
2. Search or use filters to limit the events if needed.
3. In the upper right corner of the page, click **Generate Report** to open the Create Report dialog box.
4. Click the **Download Raw Logs** tab.
icon to pass the Raw Log column from one side to the other.
4. Click **Apply**.
**Note:** If you want to keep your configuration, you need to save it by selecting **Save View > Save as**. Otherwise, your custom view will not be kept when you move to another page.
**To download Raw Logs**
1. Go to **Activity > Events**.
2. Search or use filters to limit the events if needed.
3. In the upper right corner of the page, click **Generate Report** to open the Create Report dialog box.
4. Click the **Download Raw Logs** tab.
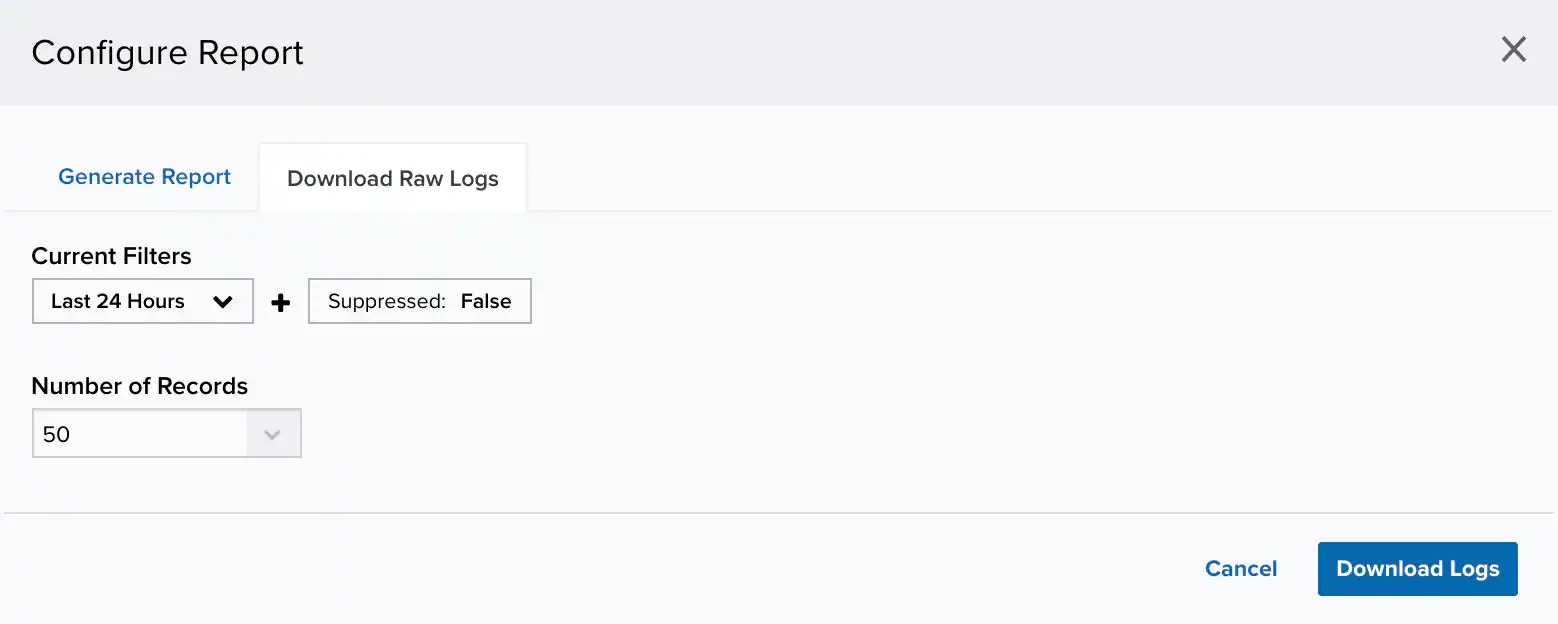 5. Choose a date range. You can select a predefined range between **Last Hour**, **Last 24 Hours**, **Last 7 Days**, **Last 30 Days**, or **Last 90 Days** or **Custom Range** to set a particular date range.
6. Under the Number of records section, choose the maximum number of records to include on the report: **20**, **50**, **100**, **500**, **1000**, or **2500**.
7. Click **Download Logs**.
5. Choose a date range. You can select a predefined range between **Last Hour**, **Last 24 Hours**, **Last 7 Days**, **Last 30 Days**, or **Last 90 Days** or **Custom Range** to set a particular date range.
6. Under the Number of records section, choose the maximum number of records to include on the report: **20**, **50**, **100**, **500**, **1000**, or **2500**.
7. Click **Download Logs**.