> ## Documentation Index
> Fetch the complete documentation index at: https://docs.levelblue.com/llms.txt
> Use this file to discover all available pages before exploring further.
# Applying Actions to Vulnerabilities
| | | | | |
| --------------------- | --------- | ------------ | ----------- | ----------- |
| **Role Availability** | Read-Only | Investigator | **Analyst** | **Manager** |
USM Anywhere enables you to respond to the vulnerability. Use this button to launch an authenticated scan of an asset. You need to select the sensor, if you have more than one installed in your environment, and then indicate the asset to scan.
**To apply an action to a vulnerability**
1. Go to **Environment > Vulnerabilities**.
2. Search for the vulnerability for which you want to launch an authenticated scan.
3. Click the vulnerability.
4. The vulnerability details dialog box opens with the information about the specific vulnerability.
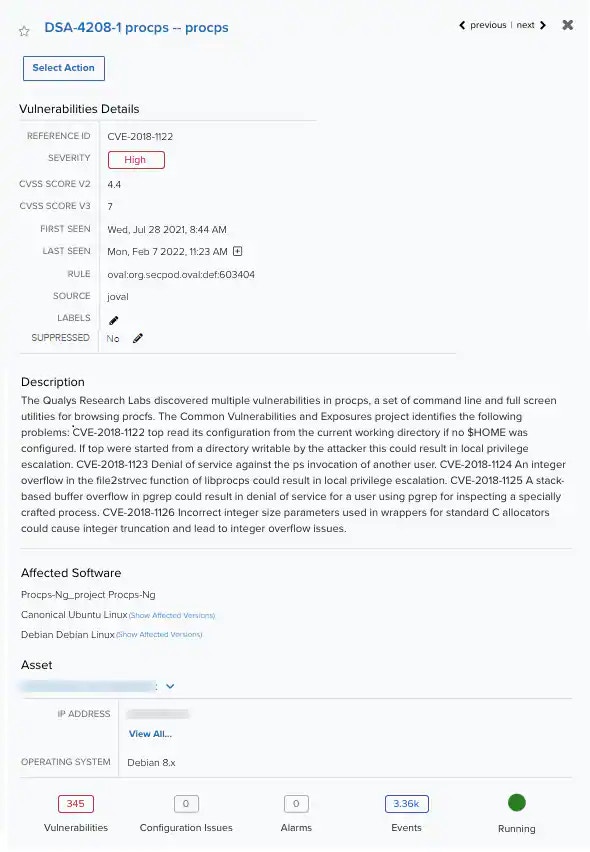 5. Click **Select Action**.
A dialog box opens, but depending on the sensor installed in your environment and the advanced BlueApps available for that or those sensors, you can see a different dialog box with different options. See [Advanced BlueApps](/documentation/usm-anywhere/alienapps-guide/blueapps-orchestration) for more information.
5. Click **Select Action**.
A dialog box opens, but depending on the sensor installed in your environment and the advanced BlueApps available for that or those sensors, you can see a different dialog box with different options. See [Advanced BlueApps](/documentation/usm-anywhere/alienapps-guide/blueapps-orchestration) for more information.
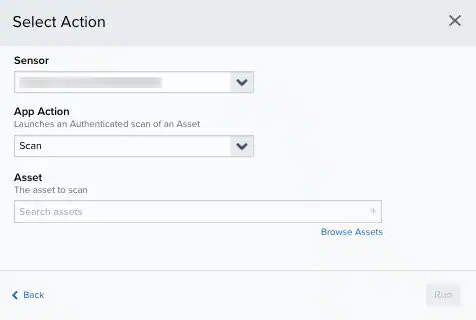
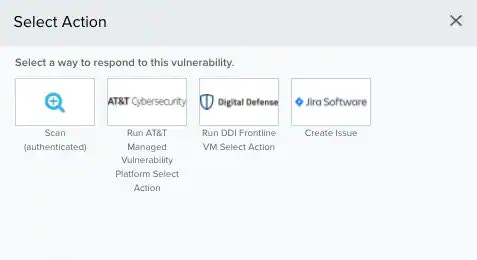 6. Depending on the selected option, you should fill in different fields.
7. Click Run.
6. Depending on the selected option, you should fill in different fields.
7. Click Run.