> ## Documentation Index
> Fetch the complete documentation index at: https://docs.levelblue.com/llms.txt
> Use this file to discover all available pages before exploring further.
# Tenable Sensor Deployment for GCP
**To deploy the Tenable sensor for GCP**
1. Log into the Google Cloud Platform (GCP) console.
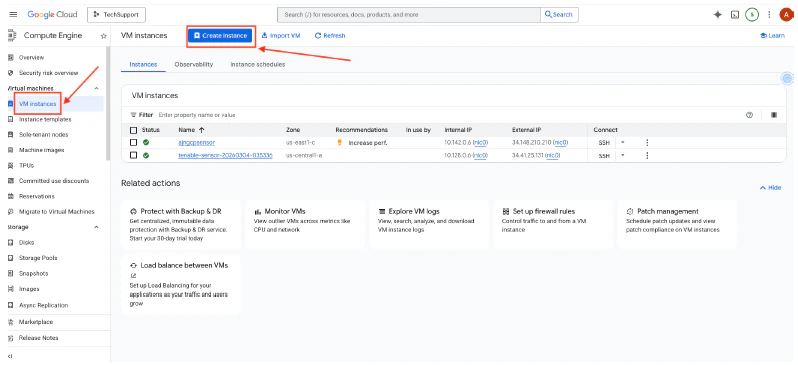
2. Navigate to **Compute Engine**, and then select **VM Instances**.
3. Click **Create Instance**.
 4. Enter a **Name** for the Tenable Sensor, and select the checkbox of the instance type.
5. Click **Create**.
4. Enter a **Name** for the Tenable Sensor, and select the checkbox of the instance type.
5. Click **Create**.
 6. Wait until the VM instance is created and listed. It should have a green check status.
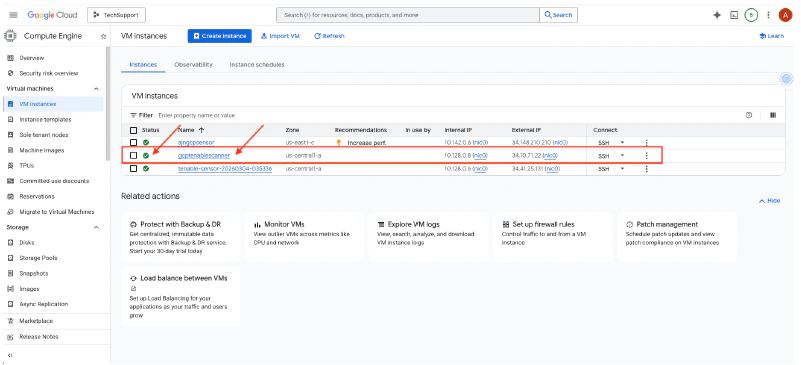 7. Connect to the VM instance by clicking the **SSH** of the created instance.
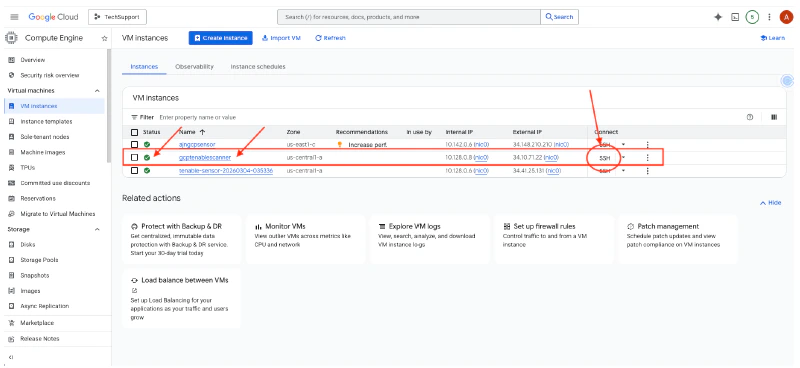 A console opens up after clicking SSH.
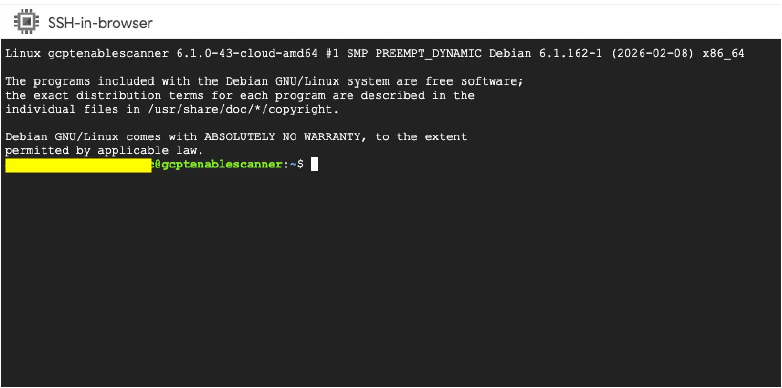 8. Check the Linux OS version in the Tenable sensor:
```text wrap theme={null}
cat/etc/os-release
```
8. Check the Linux OS version in the Tenable sensor:
```text wrap theme={null}
cat/etc/os-release
```
 Based on the screenshot above, the Linux OS is Debian 12.
9. Get the latest Debian version of the Tenable scanner:
```text wrap theme={null}
wget https://www.tenable.com/downloads/api/v2/pages/nessus/files/Nessus-10.11.3-debian10_amd64.deb
```
Based on the screenshot above, the Linux OS is Debian 12.
9. Get the latest Debian version of the Tenable scanner:
```text wrap theme={null}
wget https://www.tenable.com/downloads/api/v2/pages/nessus/files/Nessus-10.11.3-debian10_amd64.deb
```
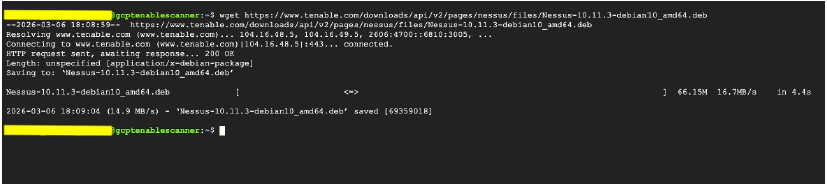 10. Check for the downloaded deb package of the Nessus Tenable scanner.
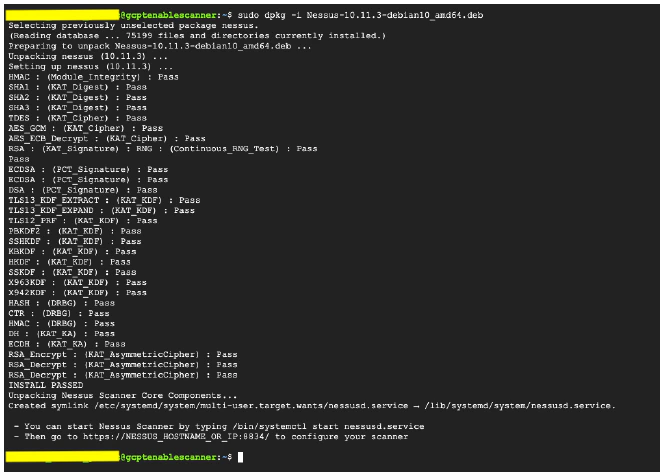
 11. Install the deb package using dpkg:
```text wrap theme={null}
# sudo dpkg -I Nessus-10.11.3-debian10_amd64.deb
```
12. Install the package.
11. Install the deb package using dpkg:
```text wrap theme={null}
# sudo dpkg -I Nessus-10.11.3-debian10_amd64.deb
```
12. Install the package.
 13. Start the nessusd.service:
```text wrap theme={null}
# sudo /bin/systemct1 start nessusd.service
```
13. Start the nessusd.service:
```text wrap theme={null}
# sudo /bin/systemct1 start nessusd.service
```
 14. Enable the nessusd.service:
```text wrap theme={null}
# sudo /bin/systenctl enable nessusd.service
```
14. Enable the nessusd.service:
```text wrap theme={null}
# sudo /bin/systenctl enable nessusd.service
```
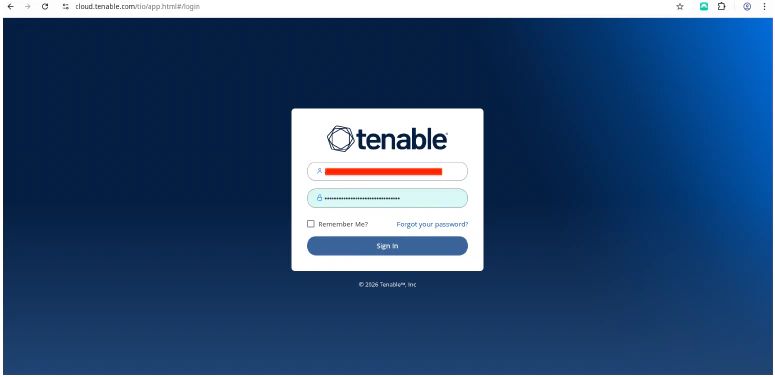
 15. Log into [cloud.tenable.com](http://cloud.tenable.com) to get the Linking Key.
 16. Click the burger menu, and then select **Settings**.

 17. Select **Sensors**.
 18. Click **Add Nessus Scanner** to view the Linking Key.
 19. Copy the **Linking Key**.
 20. In the Tenable sensor CLI, use the Linking Key to link the Tenable sensor:
```text wrap theme={null}
sudo /opt/nessus/sbin/nessuscli managed link --key=”Linking Key” –cloud
```
20. In the Tenable sensor CLI, use the Linking Key to link the Tenable sensor:
```text wrap theme={null}
sudo /opt/nessus/sbin/nessuscli managed link --key=”Linking Key” –cloud
```
 Once done, you should see a "**Successfully linked**" message.
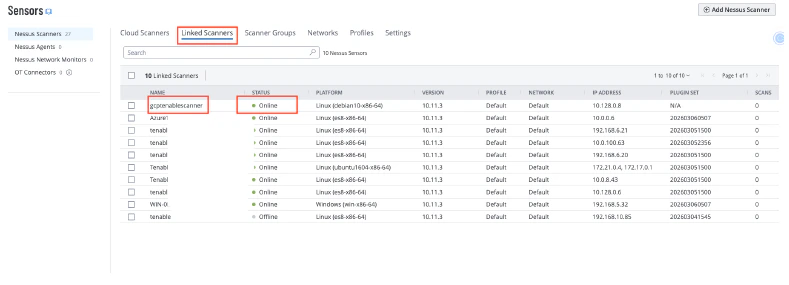
21. Return to the Tenable cloud page, and verify that the Tenable sensor is linked correctly and is in **Online** status.
Once done, you should see a "**Successfully linked**" message.
21. Return to the Tenable cloud page, and verify that the Tenable sensor is linked correctly and is in **Online** status.
 **VERIFICATION / TROUBLESHOOTING**
* If the sensor does not link properly:
* Re-check the outbound TCP 443 access to [sensor.cloud.tenable.com](http://sensor.cloud.tenable.com) and [plugins.nessus.org](http://plugins.nessus.org).
* Make sure the Linking Key is correct and not expired.
* If the scans do not find hosts:
* Confirm that the scanner can reach the target network (routing, security groups/NSGs, and target host firewalls).
* For credential scans, confirm that the credentials work and the required auth ports are reachable.
**VERIFICATION / TROUBLESHOOTING**
* If the sensor does not link properly:
* Re-check the outbound TCP 443 access to [sensor.cloud.tenable.com](http://sensor.cloud.tenable.com) and [plugins.nessus.org](http://plugins.nessus.org).
* Make sure the Linking Key is correct and not expired.
* If the scans do not find hosts:
* Confirm that the scanner can reach the target network (routing, security groups/NSGs, and target host firewalls).
* For credential scans, confirm that the credentials work and the required auth ports are reachable.