To use a Single Sign-On (SSO) vendor to log in to a USM Anywhere instance, you need to create a new SSO configuration.
Only users with the manager role will be able to create, edit, and delete SSO configurations.
- Go to Settings > Single Sign On.
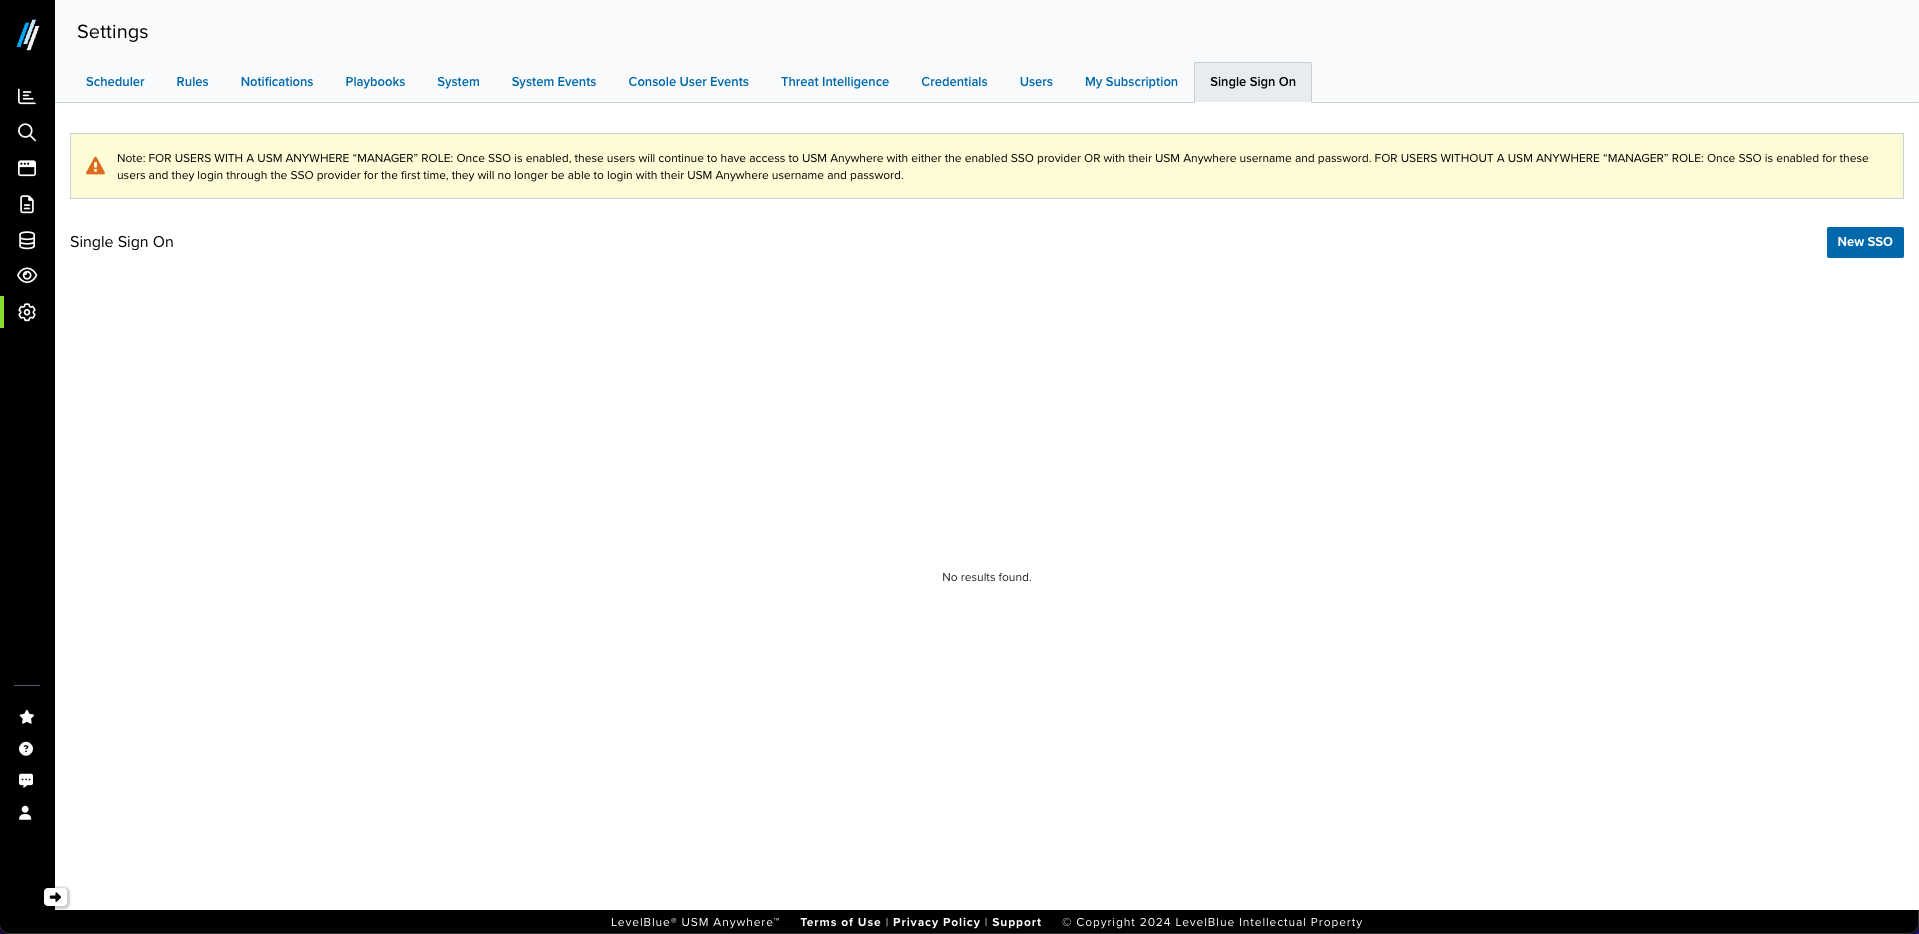
- Click New SSO. The Add New SSO Configuration dialog box opens.
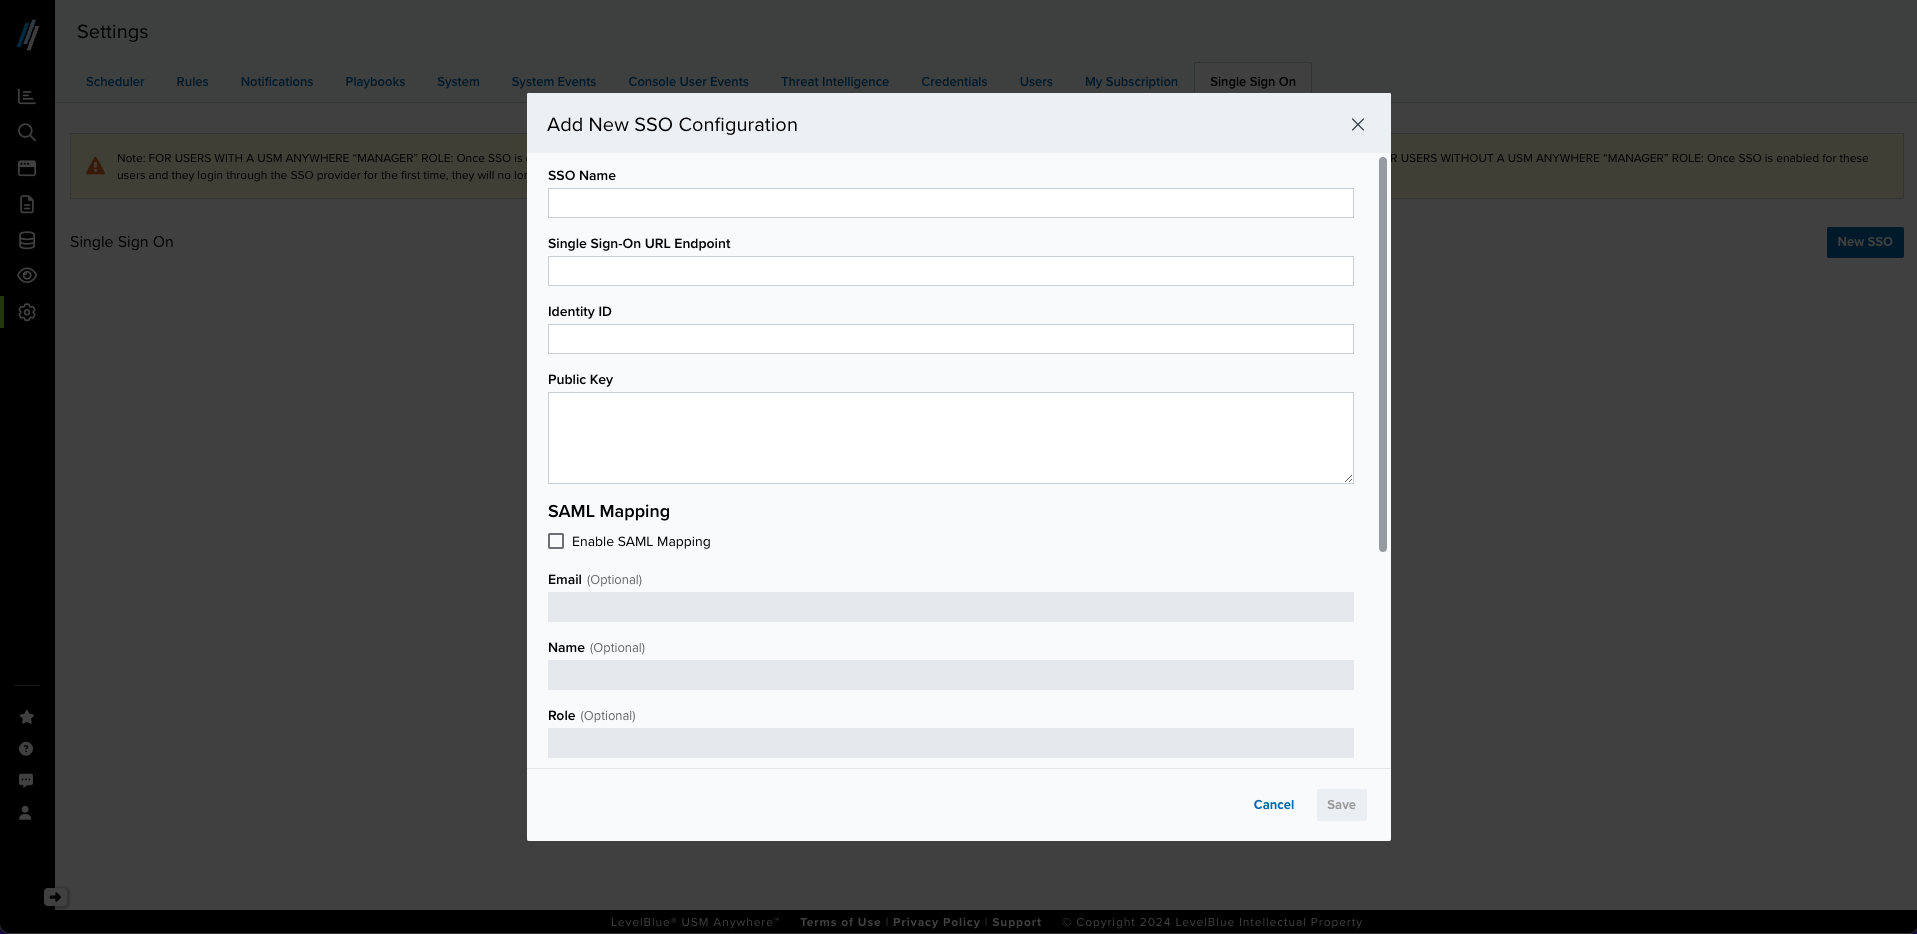
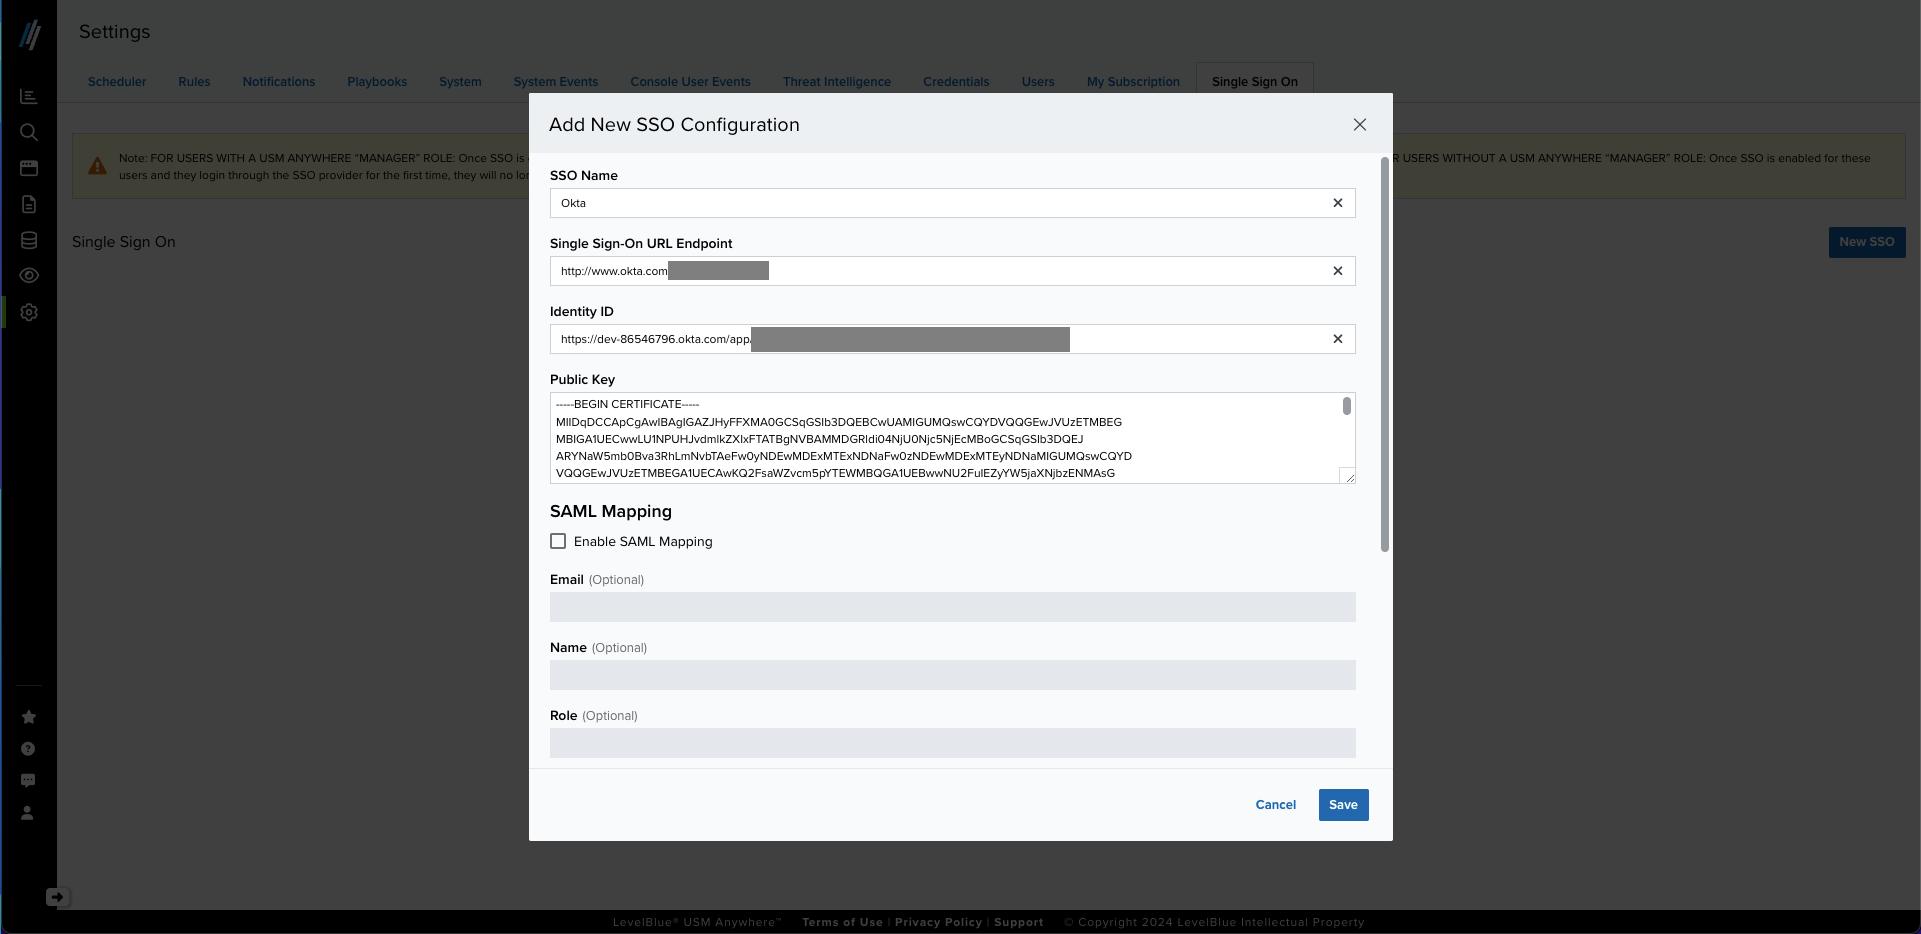
- Enter the SSO configuration provided by your SSO vendor:
- SSO Name: You can enter the name you want; this name will be shown on the Login page.
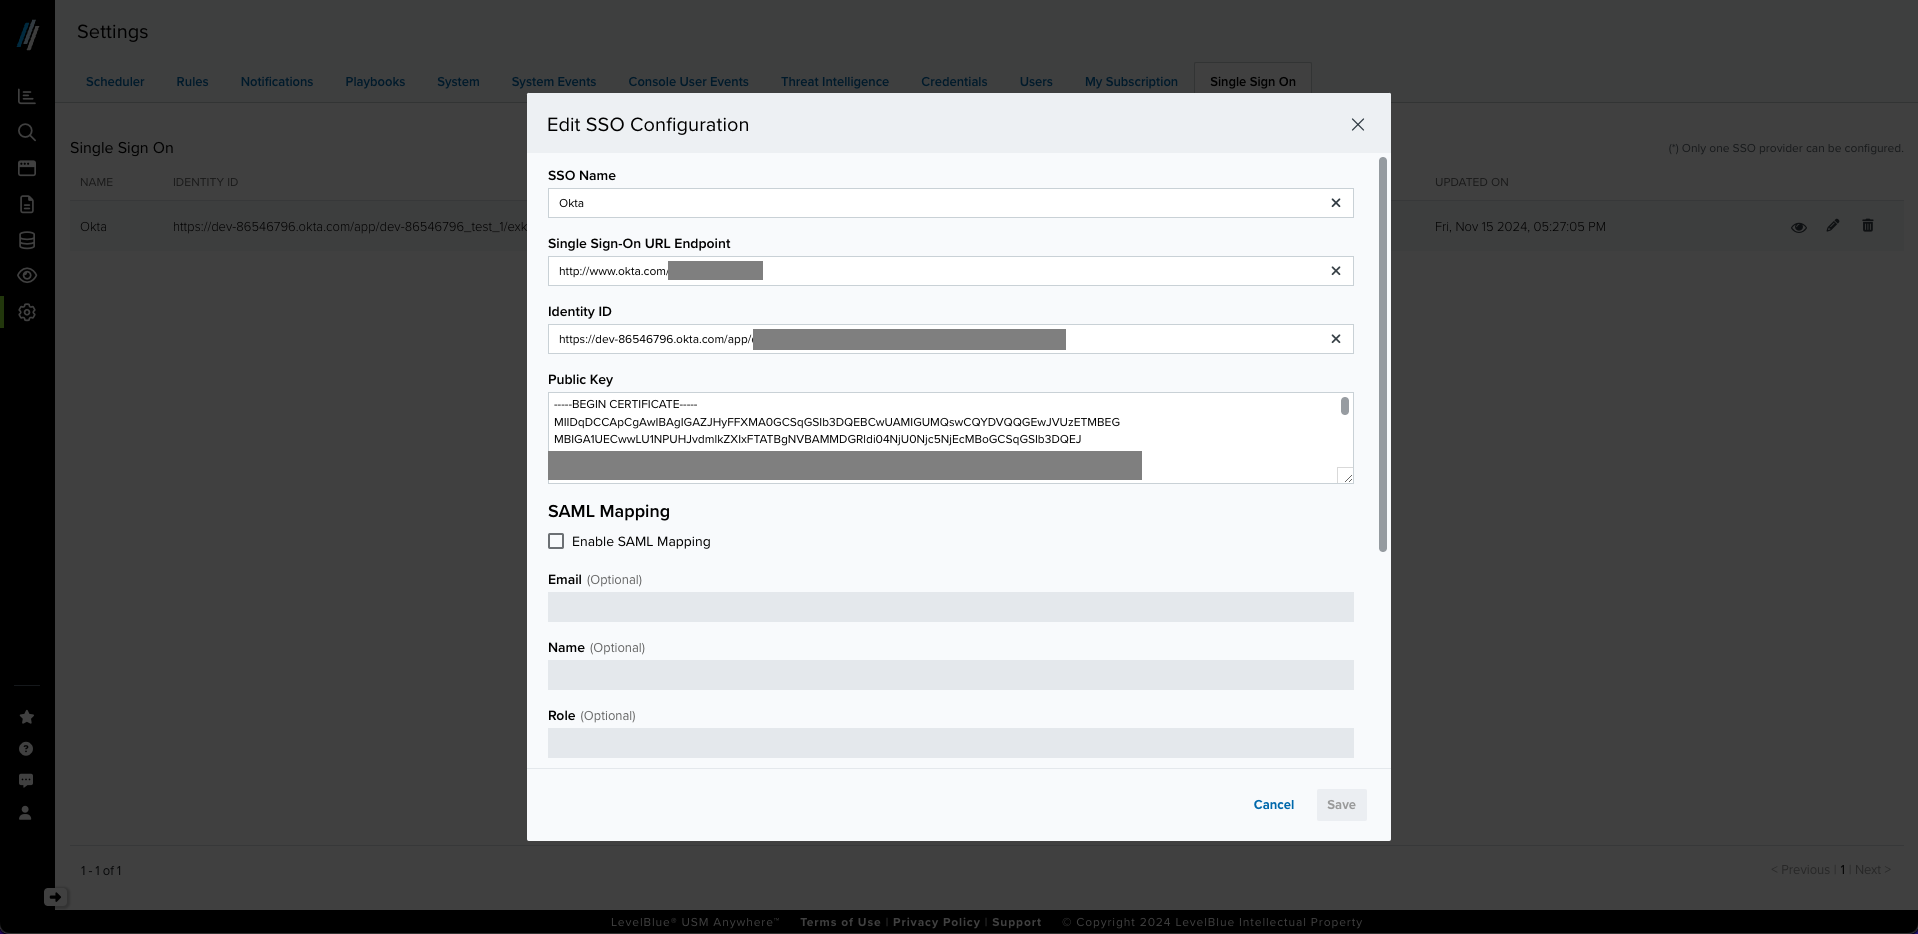
- Identity ID: The vendor provides you with this information
- Single Sign-On URL Endpoint: The vendor provides you with this information
- Public Key: The vendor provides you with this information
- Click Save.
- In the SSO Confirmation dialog box, click the checkbox to confirm your changes, and then click Confirm.

- Go back to the SSO page, and then click the View button for your newly created SSO integration.
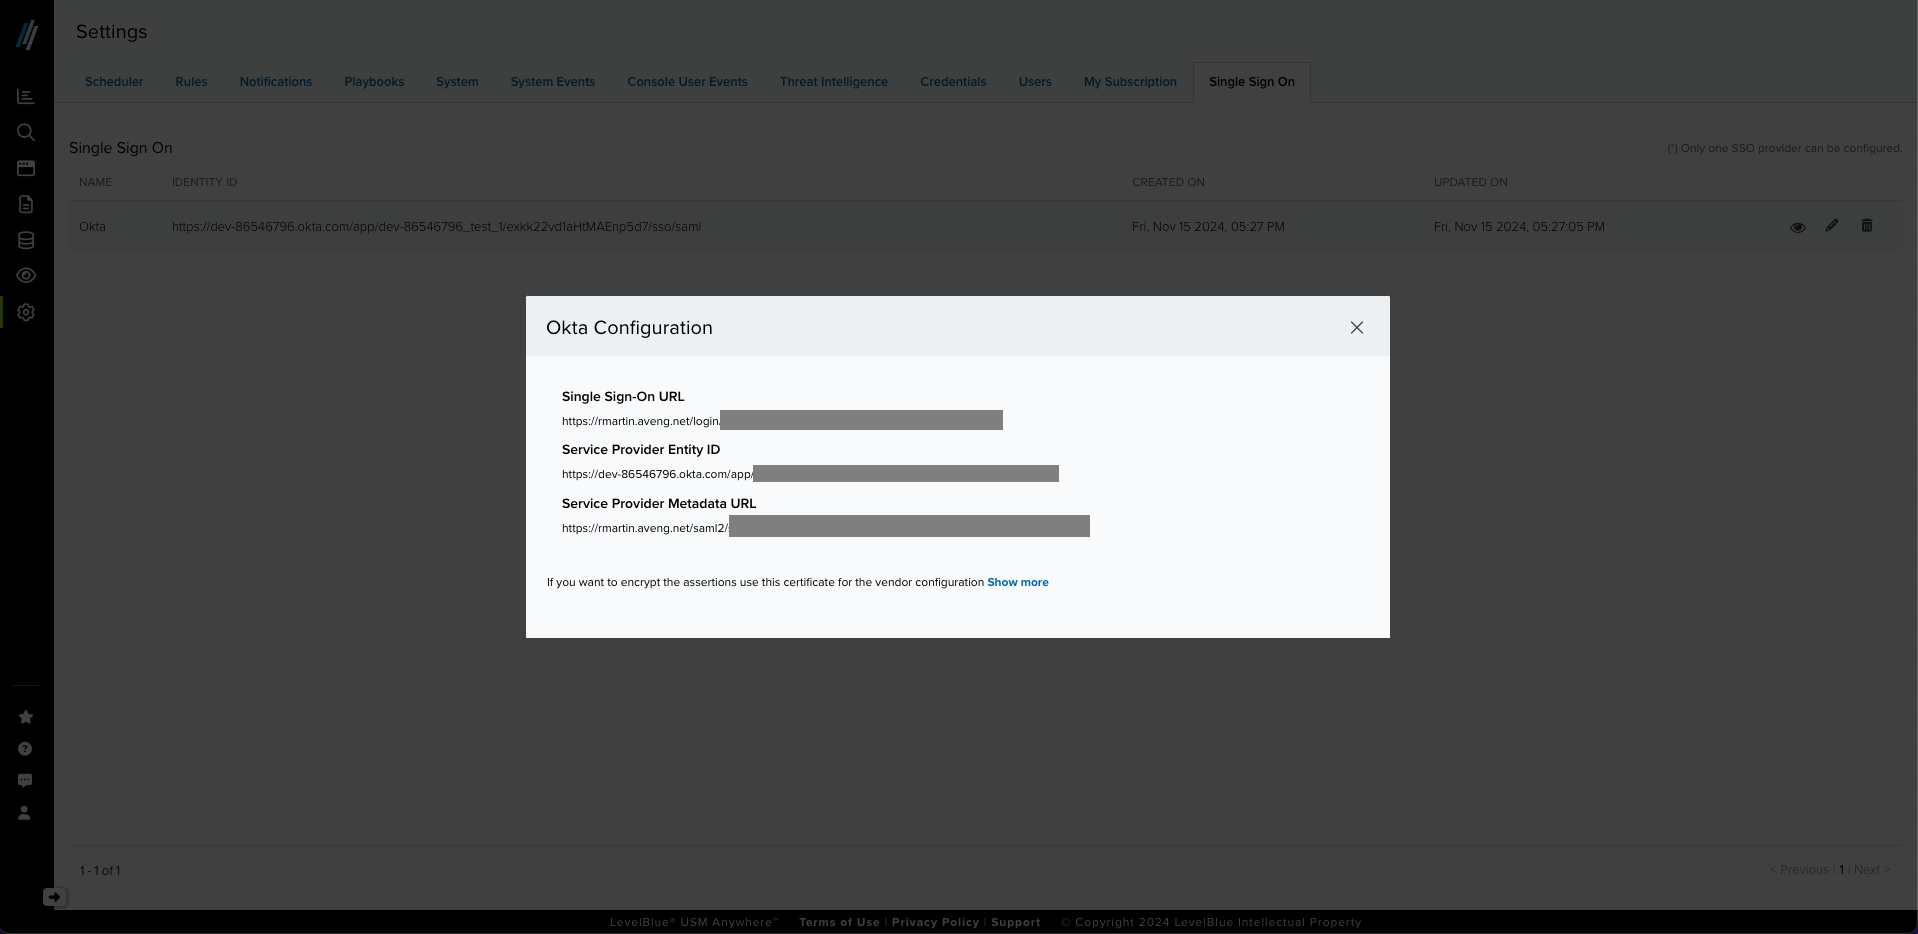
- (Optional) If you want to encrypt the assertions, use the certificate by clicking Show more.
- (Optional) Go to the Single Sign On page and click the Edit button. The Edit SSO Configuration dialog box opens.
- (Optional) If you need it, enable SAML Mapping. The mapping will depend on the information that is sent in your SSO vendor assertions.
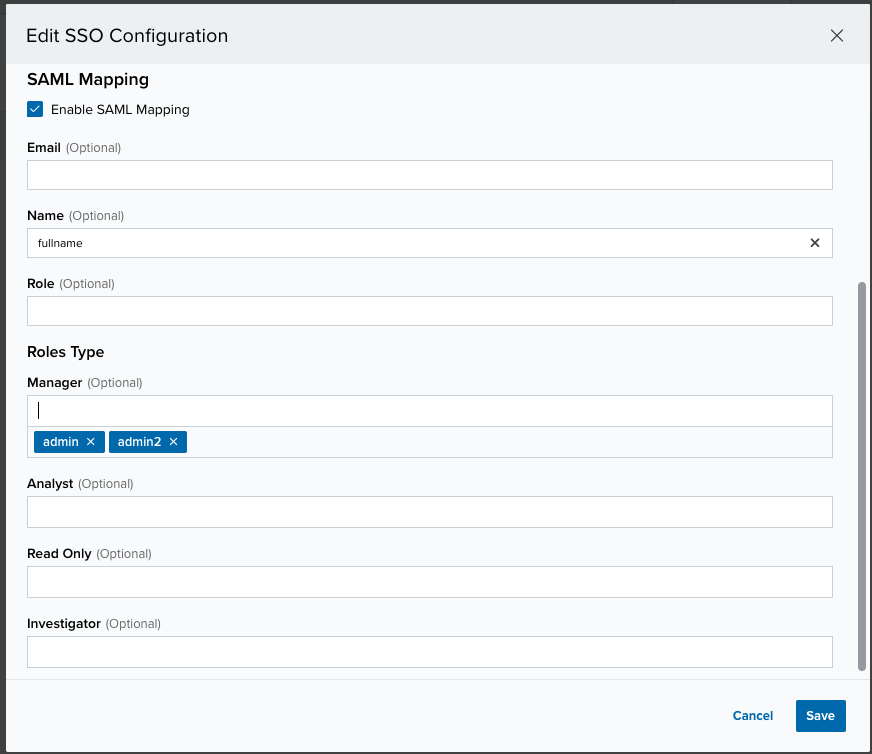
- You will have to add the value you use in your vendor if it does not correspond to the following:
- Email: email
- Name: fullName
- Role: roles
- Add role name mapping if you use roles other than USM Anywhere roles (You can add more than one role for a type, each entry has to be added by pressing enter). Roles Type from USM Anywhere:
- Manager
- Analyst
- Read Only
- Investigator
- If a user does not have a role assigned that maps to USM Anywhere’s roles, the user will be assigned the Read Only role.
- (Optional) Enable the SSO Required option. Go to Settings > System > SSO settings. If this option is enabled, it forces all users to use the SSO to login. (Manager users can always login using their user/password) (Available from version 7.76).