Change the Administrative Password and Keyboard Layout
Follow these instructions to change the administrative password and keyboard layout. To change the administrative password and keyboard layout-
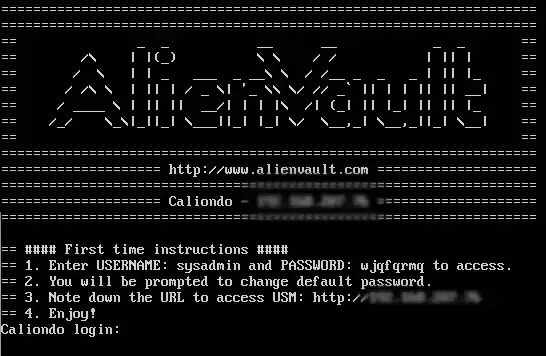
Log in using the credentials displayed in the console screen.
- (Optional.) Configure the keyboard if you use a keyboard layout other than the U.S. default.
-
Set a new password for the sysadmin user.
-
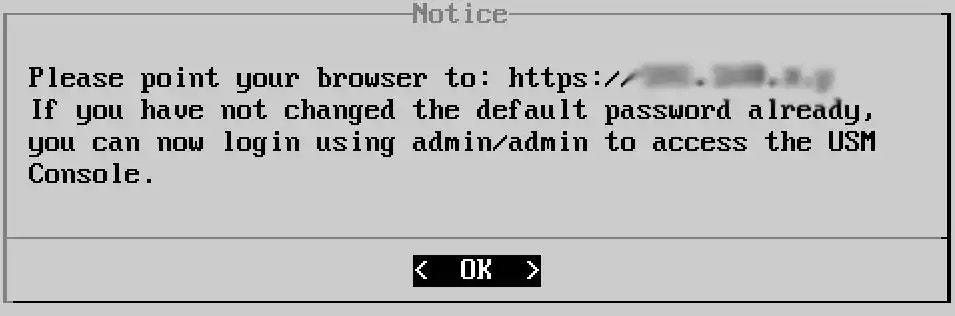
If your system sets an IP address automatically, note the web URL (IP address). You will need the URL when you exit from the console and follow the instructions in Connect the VMware Sensor to USM Anywhere.
- In this case, you must manually set a static IP address so that it remains unchanged in the future.
-
If your system sets an IP address automatically, note the web URL (IP address). You will need the URL when you exit from the console and follow the instructions in Connect the VMware Sensor to USM Anywhere.
Configure a Static IP Address
Follow these instructions to configure a static IP address. To configure a static IP address- Go to Network Configuration > Configure Management Interface > Set a Static Management IP Address.
- Enter the IP address, subnet, and gateway information in each screen.
- Press Enter.
Configure Domain Name System
Follow these instructions to configure the Domain Name System (DNS).Note: When deploying your VMware Sensor in a DHCP environment, the DNS server is automatically set to retrieve via DHCP. This can be configured later in your sensor’s settings. See Deploying Your Sensor in a DHCP Environment for more information about USM Anywhere Sensors in a DHCP environment.
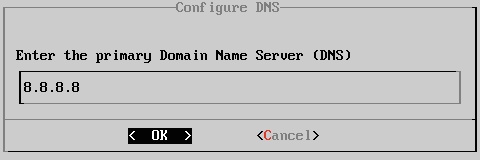
- Go to Network Configuration > Configure DNS.
-
Enter the primary DNS and press Enter.
- (Optional) Enter the secondary DNS and press Enter. A text box opens to confirm that you want to apply changes.
- Press Enter.
Note: Check your settings through Network Configuration > View Network Configuration.