This section displays the alarms, events, and files associated with the investigation.
On the Investigations page, click an Investigation to view the evidence associated to it.

- Add to current filter: Use this option to add the asset name as a search filter. See Searching Events for more information.
- Find in events: Use this option to execute a search of the asset name in the Events page. See Searching Events for more information.
- Look up in OTX: This option searches the IP address of the source asset in the LevelBlue LevelBlue Labs Open Threat Exchange® (OTX™) page. See Using OTX in USM Anywhere for more information.
- Add asset to system: Use this option to create the asset in the system. See Adding Assets for more information.
Your access to these options may vary based on your user role. See Role-Based Access Control (RBAC) in USM Anywhere for more information.
- Add to Current Filter: Use this option to add the asset name as a search filter. See Searching Events for more information.
- Find in Events: Use this option to execute a search of the asset name in the Events page. See Searching Events for more information.
- Look up in OTX: This option searches the IP address of the asset in the OTX page. See Using OTX in USM Anywhere for more information.
- Full Details: See Viewing Assets Details for more information.
- Assign Credentials: See Managing Credentials in USM Anywhere for more information.
- Authenticated Scan: This option displays depending on the USM Anywhere Sensor associated with the asset. See Running Authenticated Asset Scans for more information.
- Scan with BlueApp: This option enables you to run an asset scan through an BlueApp. See Running Asset Scans Using a BlueApp for more information.
- Configuration Issues: This option opens the Asset Details page. The Configuration Issues tab is selected in the page. See Viewing Assets Details for more information.
- Vulnerabilities: This option opens the Asset Details page. The Vulnerabilities tab is selected in the page. See Viewing Assets Details for more information.
- Alarms: This option opens the Asset Details page. The Alarms tab is selected in the page. See Viewing Assets Details for more information.
- Events: This option opens the Asset Details page. The Events tab is selected in the page. See Viewing Assets Details for more information.
Your access to these options may vary based on your user role. See Role-Based Access Control (RBAC) in USM Anywhere for more information.
Link an alarm to an investigation
Link an alarm to an investigation
Linking an alarm to an investigation can be done via the Activity > Alarms or Investigations page.To link an alarm via the Activity > Alarms page: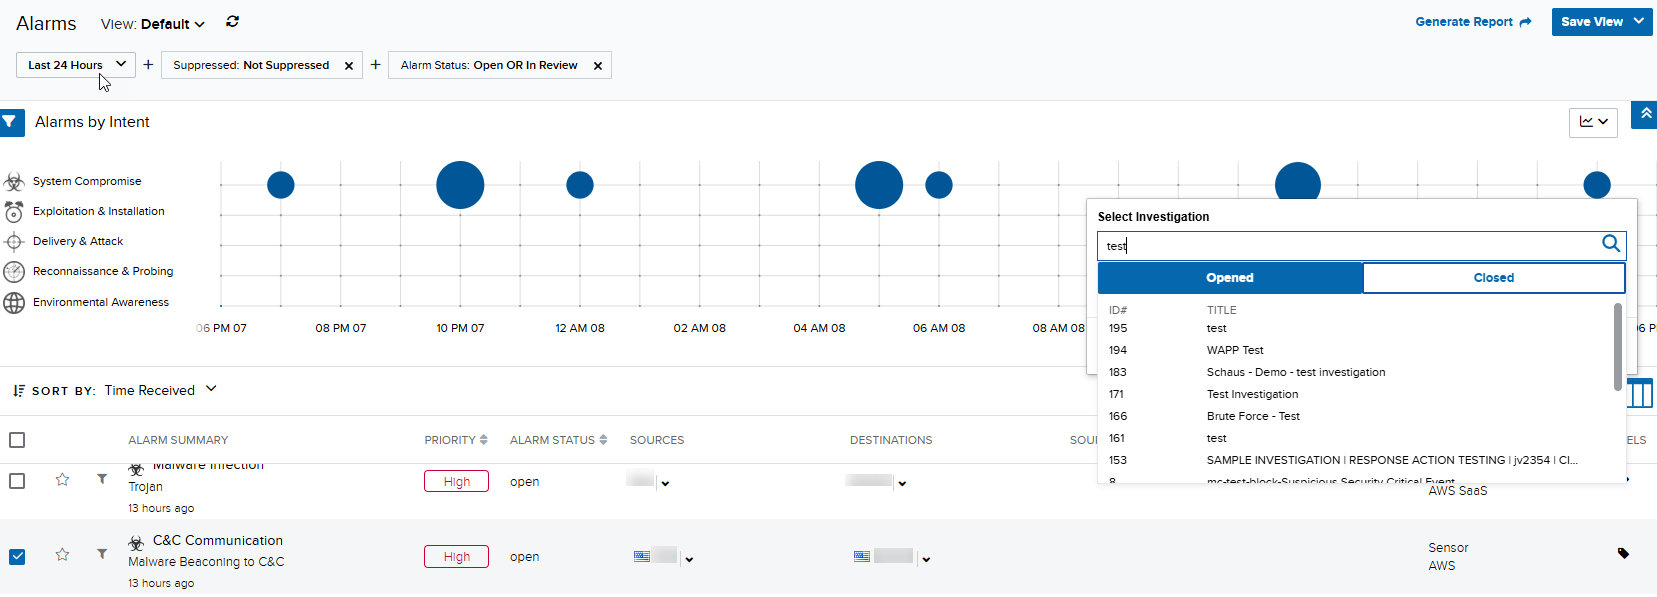
- Go to Activity > Alarms.
- Search for the alarm you want to add to the investigation. Refer to Searching Alarms for more information.
- Select the checkbox of the alarm to be linked.
-
Click Add To Investigation.
You can also click the alarm entry to open the Alarm Details pane on the right. Under the Alarm Details section, locate the Investigations field, and then click the
 icon.
icon. - On the Select Investigation dialog box, enter the investigation’s title or keywords to search for the investigation you want to link the alarm. Matching results are displayed below, categorized as Opened or Closed accordingly.
- Select the investigation from the list, and then click Apply.
- Go to Investigations.
- Search for an investigation. Refer to Searching Investigations for more information.
- Click on the investigation’s Title to view its details.
- Under Evidence, select the alarm you want to link and then click the alarm name to open its details on the right pane.
-
Under the Alarm Details section, locate the Investigations label and then click the icon.
- On the Select Investigation dialog box, enter the investigation’s title or keywords to search for the investigation you want to link the alarm. Matching results are displayed below, categorized as Opened or Closed accordingly.
-
Select an investigation, and then click Apply.

Link several alarms to an investigation
Link several alarms to an investigation
You can link up to 100 alarms to an investigation.
- Go to Activity > Alarms.
- Search for the alarms you want to add to the investigation. See Searching Alarms for more information.
- Select the checkboxes of the alarms to be linked.
- Click Add to Investigation.
-
On the Select Investigation dialog box, enter the investigation’s title or keywords to search for the investigation you want to link to the alarms. Matching results are displayed below, categorized as Opened or Closed investigation accordingly.
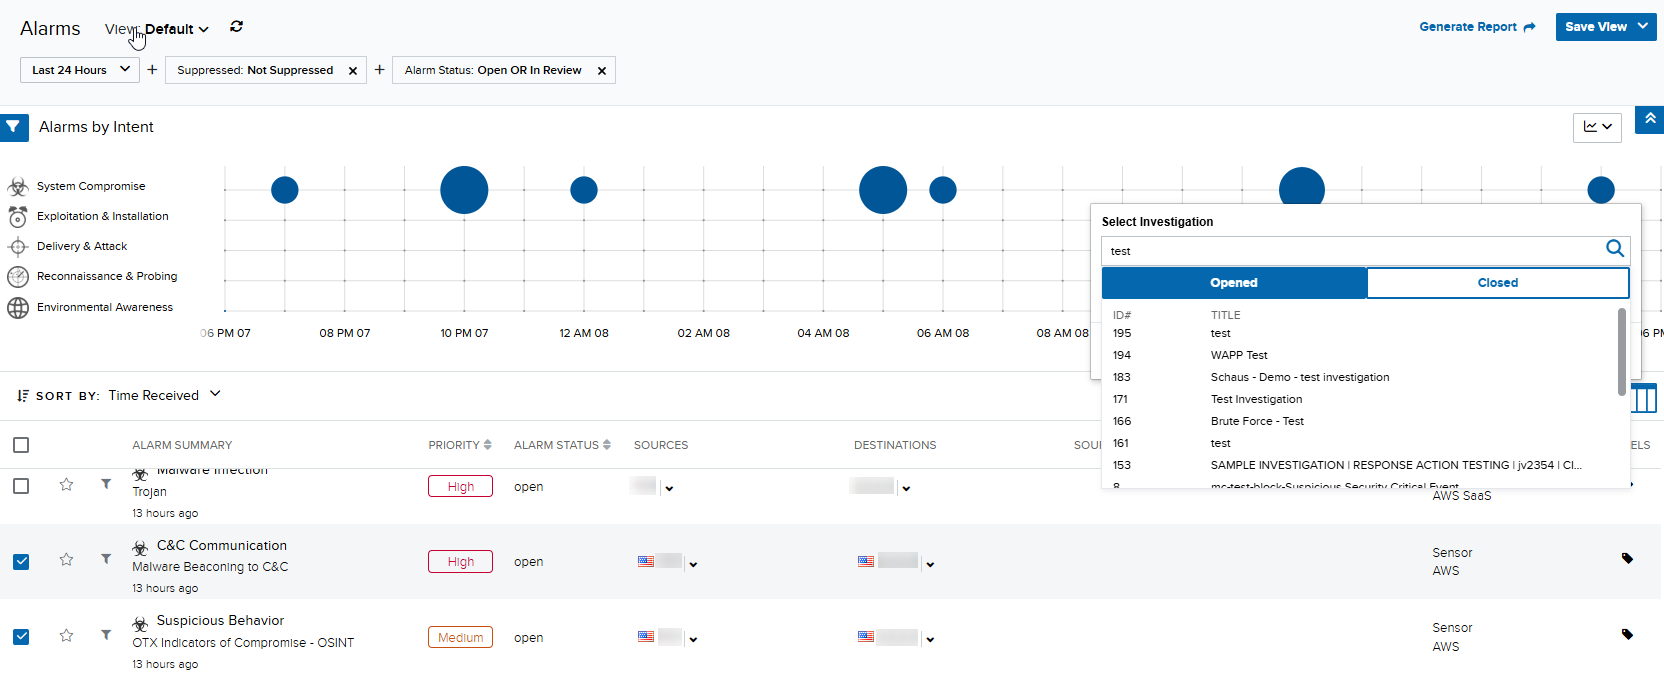
- Select the investigation, and then click Apply.
Link an event to an investigation
Link an event to an investigation
- Go to Activity > Events.
- Search for the event you want to add to the investigation. Refer to Searching Events for more information.
- Select the checkbox of the event to be linked.
- Click Add To Investigation.
You can also click the event entry to open the Event Details pane on the right. Under the Event Details section, locate the Investigations field, and then click the icon.
- On the Select Investigation dialog box, enter the investigation’s title or keywords to search for the investigation you want to link to the event. Matching results are displayed below, categorized as Opened or Closed investigation accordingly.
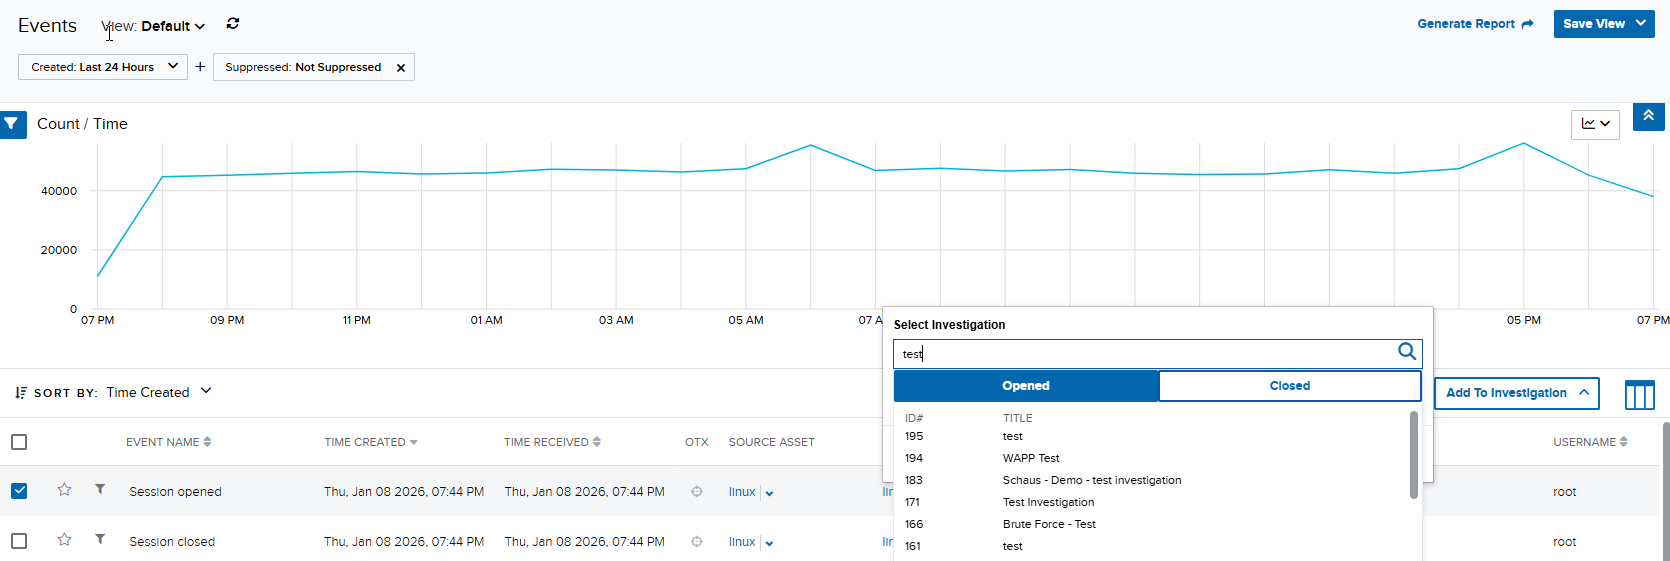
- Select the investigation from the list, and then click Apply.
Link several events to an investigation
Link several events to an investigation
You can link up to 100 events to an investigation.
- Go to Activity > Events.
- Search for the events you want to add to the investigation. Refer to Searching Events for more information.
- Select the checkboxes of the events to be linked.
- Click Add To Investigation.
-
On the Select Investigation dialog box, enter the investigation’s title or keywords to search for the investigation you want to link the events. Matching results are displayed below, categorized as Opened or Closed investigation accordingly.
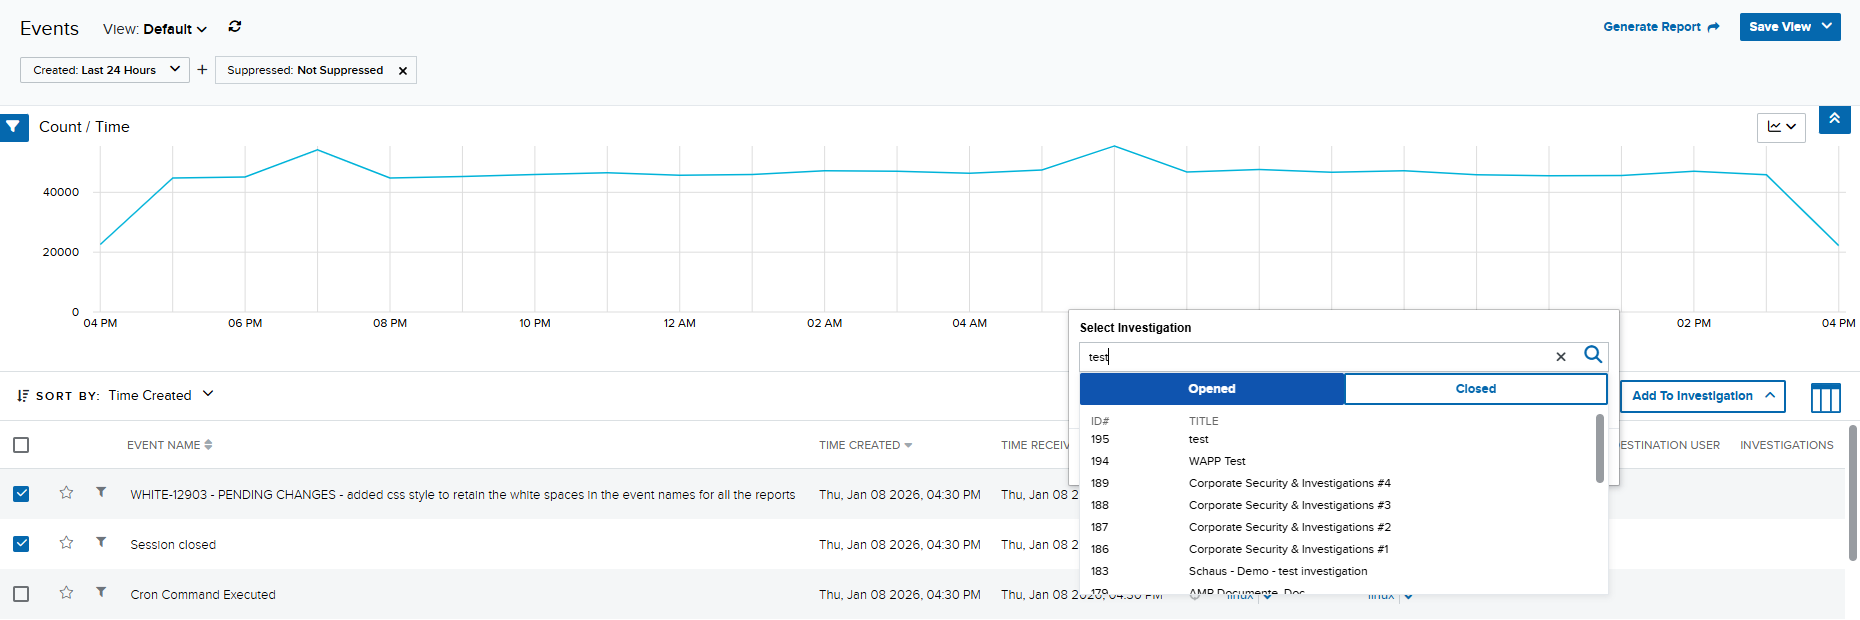
- Select the investigation from the list, and then click Apply.
Remove a link from an investigation
Remove a link from an investigation
- Go to Investigations.
- Click the title of an investigation to display its details.
- In the Evidence section, locate the alarm or the event that you want to remove from the investigation and click the
 icon.
icon.
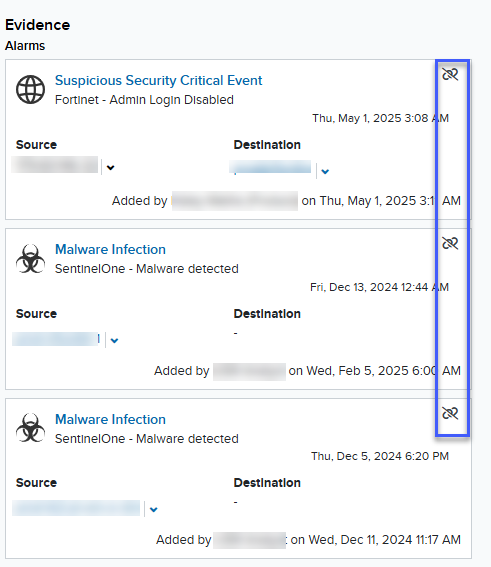
- When prompted to confirm the action, click Remove.
Remove a link from alarms or events
Remove a link from alarms or events
- Go to Activity > Alarms or Activity > Events depending on if you want to remove an alarm or an event.
- Search for the alarm or event you want to remove. Refer to Searching Alarms or Searching Events for more information.
-
In the details pane, locate the Investigation field and then click the icon.
- Select the investigation from which you want to remove the link.
-
Click Unlink From Investigation.

- In the confirmation dialog box, click Unlink.
Add a file to an investigation
Add a file to an investigation
You may add a file with a maximum size of 100 MB.To add a file to an investigation
- Go to Investigations.
- Click the title of an investigation to display its details.
-
In the Evidence section, click Select the file from your desktop or drop your file in the section.
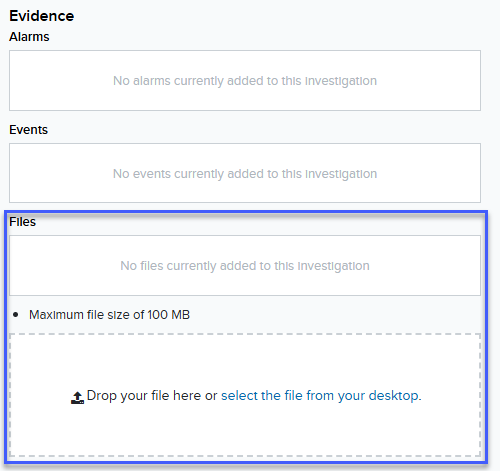
- Select the file and click Open. The added file is placed under the Files section.
If you want to open the added file, simply click the filename. To remove the file from the investigation, click the  icon. When prompted, click Remove.