- Go to Data Sources > Blue Apps > Available BlueApps tab.
- Filter by Scanner, and then select LevelBlue Vulnerability Scanner Powered by Tenable.
-
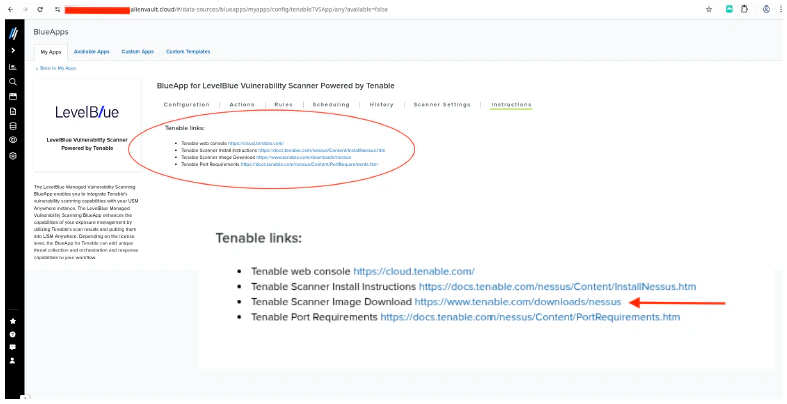
On the My Apps tab, click the Tenable Scanner Image link. This directs you to the Tenable Nessus page.
-
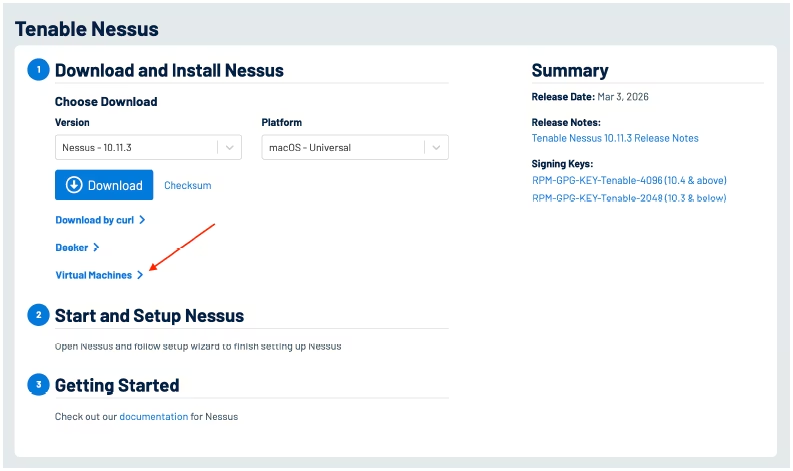
Under Download and Install Nessus, expand the Virtual Machines section, and select the View Tenable Core + Nessus Virtual Appliance option.
-
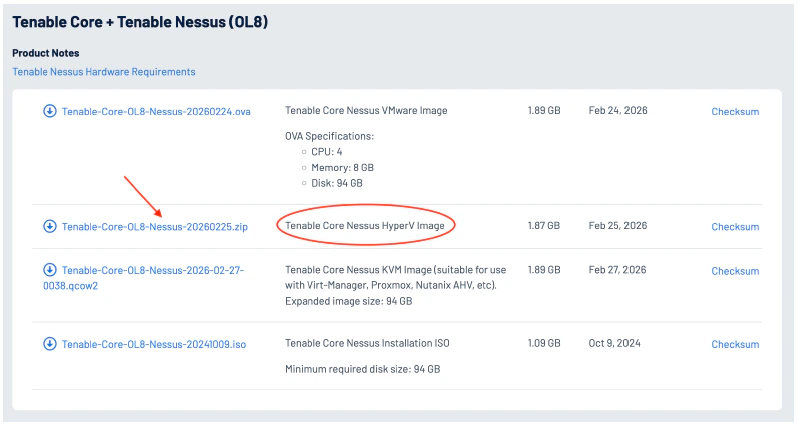
Download the zip file (as shown on the screenshot below), and extract the OVA for Hyper-V (OS.vhd file).
- Log into Hyper-V Manager.
-
In the Actions pane, click New to create a new virtual machine (VM).

-
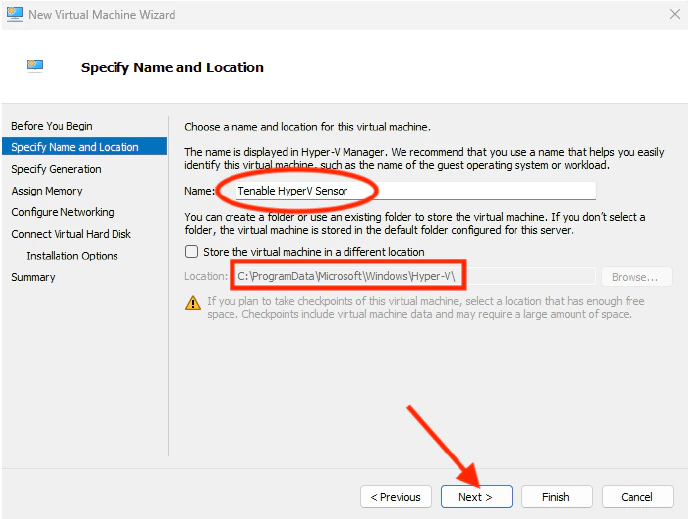
When the New Virtual Machine Wizard opens, click Next to initiate the set up of the new VM.

-
Specify the Name and Location of the VM, and then click Next.
-
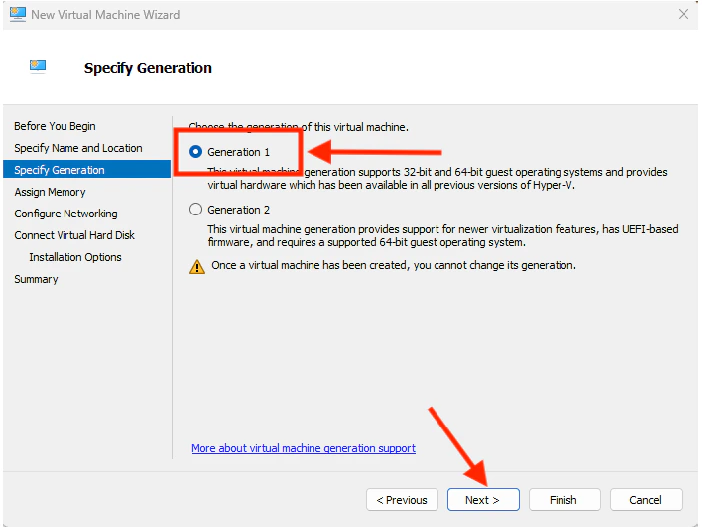
Select Generation 1 as the VM generation, and then click Next.
-
Assign a memory for the VM, and then click Next.
 The Startup memory should at least be 8 GB.
 -
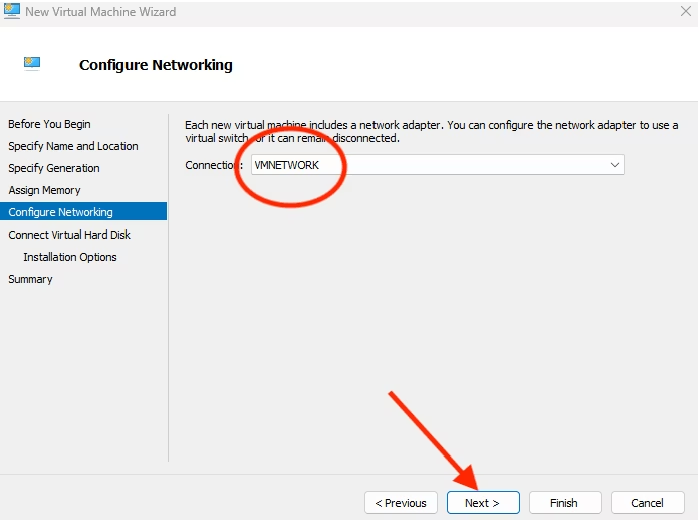
Select the VM’s network connection, and then click Next.
- Select to Use an existing virtual hard disk.
-
Click Browse to locate the OS.vhd file that has been downloaded from Tenable.
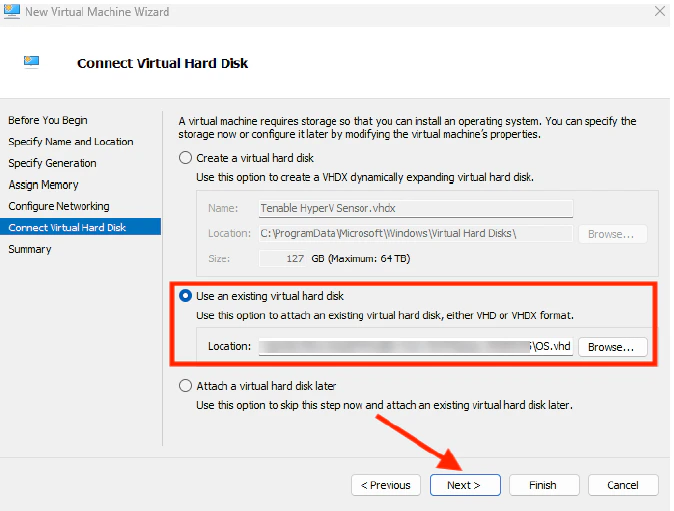
- Click Next.
-
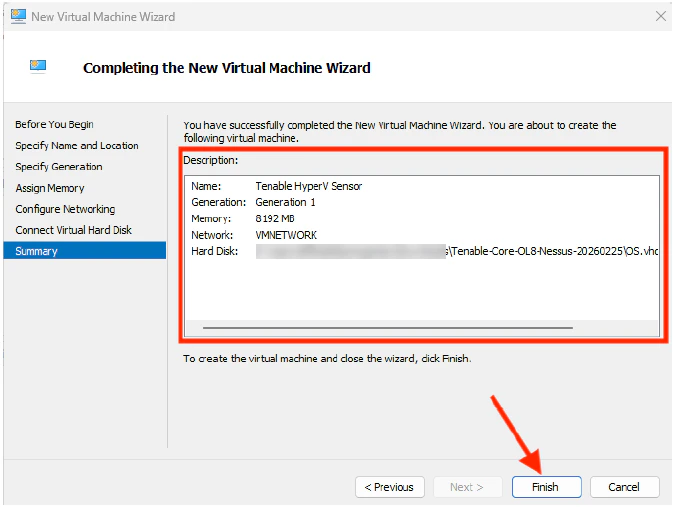
Review the VM details, and then click Finish to complete the process.
-
In the Tenable Hyper-V Sensor pane, click Start to launch the Hyper-V VM.
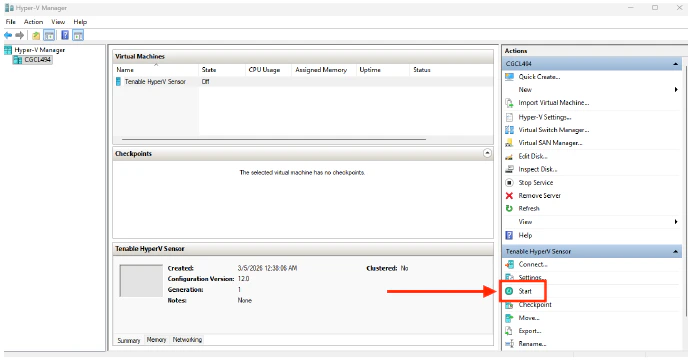
- Verify that the VM is running.
-
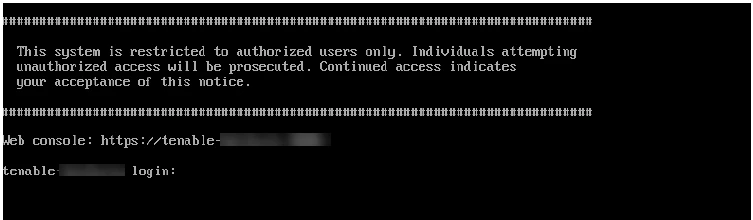
Open the web console of the Tenable sensor.
-
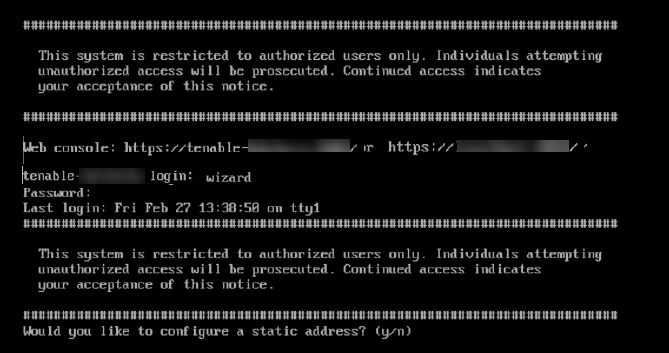
Log into the Tenable sensor using the default credentials: username: wizard / password: admin
 Reboot the sensor if you cannot log in and the following error appears: “Logins have been disabled as no administrator account was created within the required time. Reboot the system to access the initial user creation wizard.”
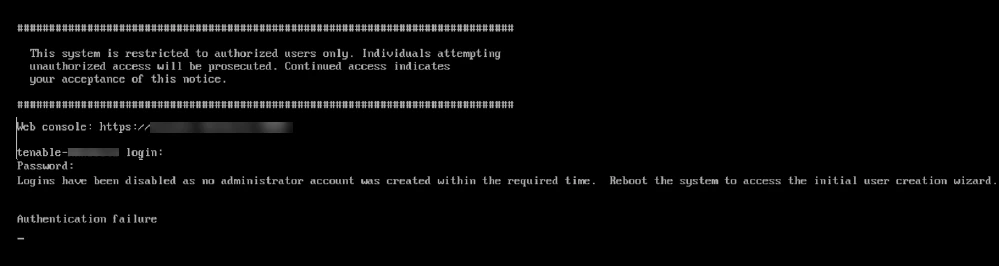
-
When prompted to configure a Tenable sensor IP (static address), type y.
-
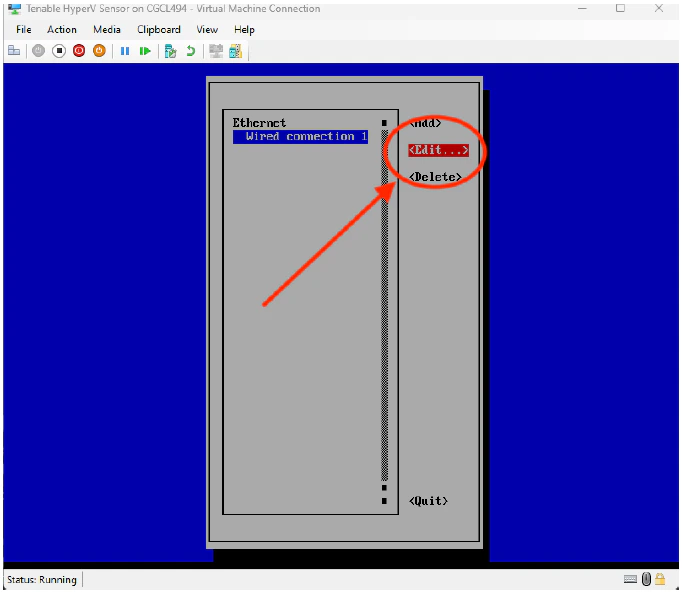
Select the Wired connection option, and then click Edit.
-
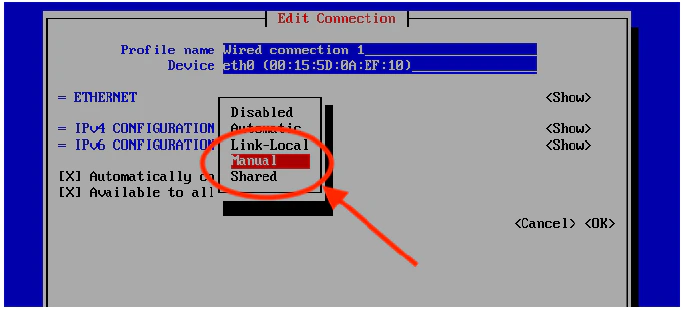
Click Manual.
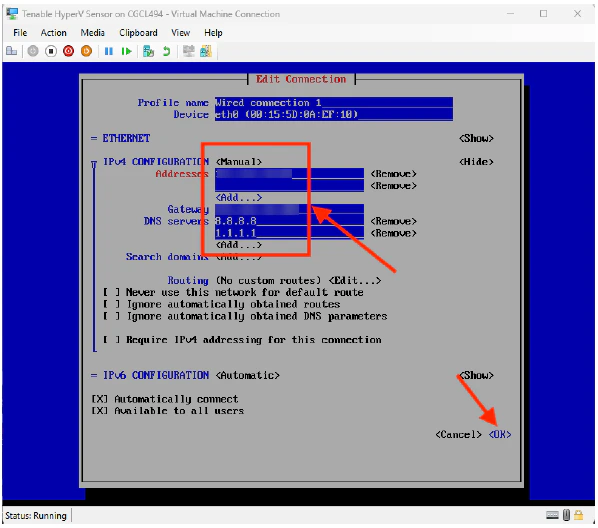
- Assign the IP Address, Gateway, and DNS Servers.
-
Once done, click OK.
-
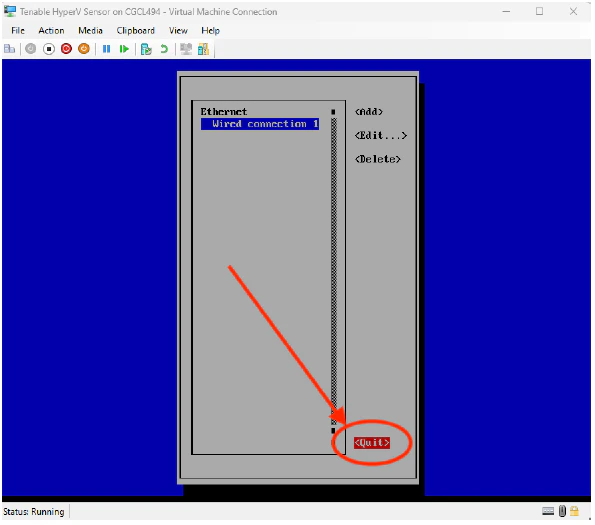
Click Quit.
-
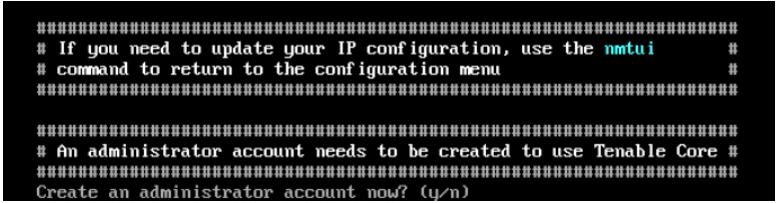
Return to the web console, and when prompted to create an administrator account, type y.
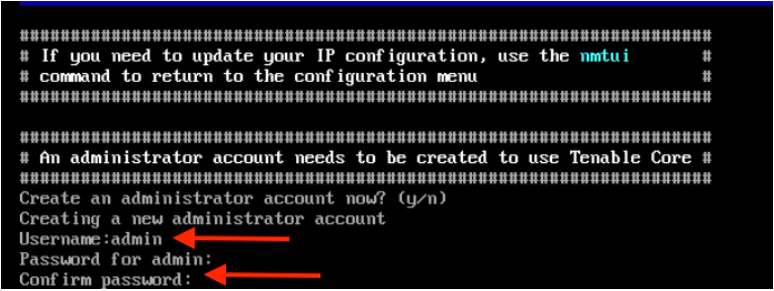
- Type a Username and Password for the admin account.
-
Confirm the password.
- Check that the new admin account can log into the Tenable web console.
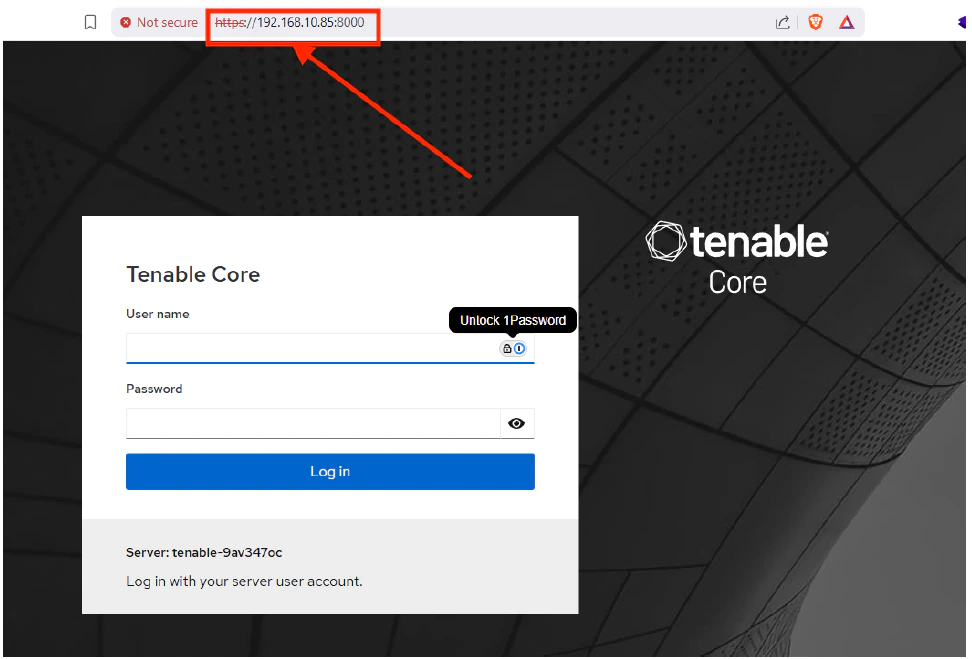
- Using the configured IP, use your web browser to connect to Tenable sensor to port 8000.
-
Log in using the admin account credentials.
-
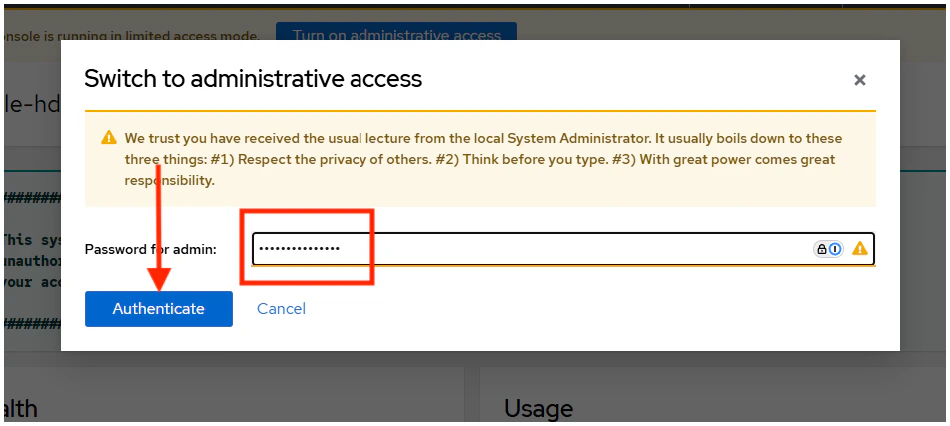
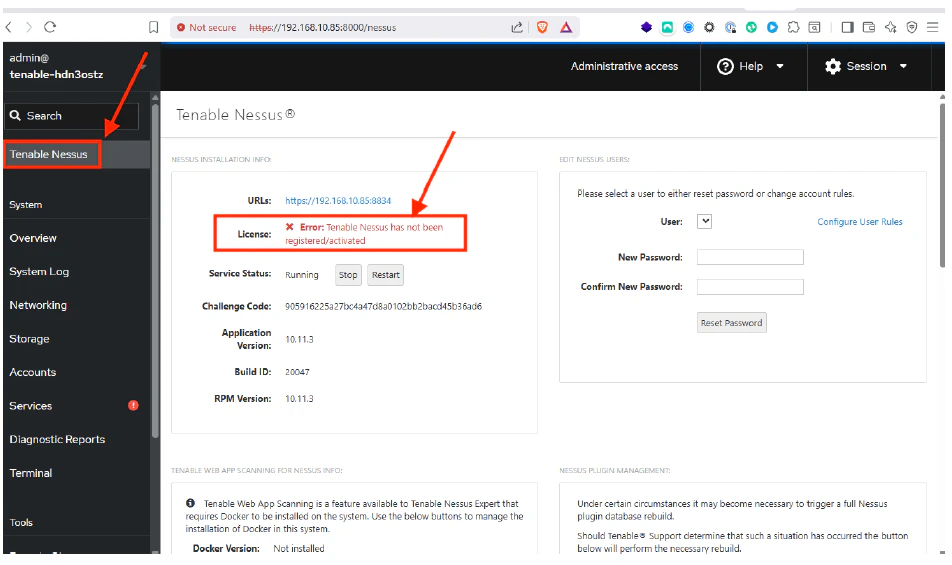
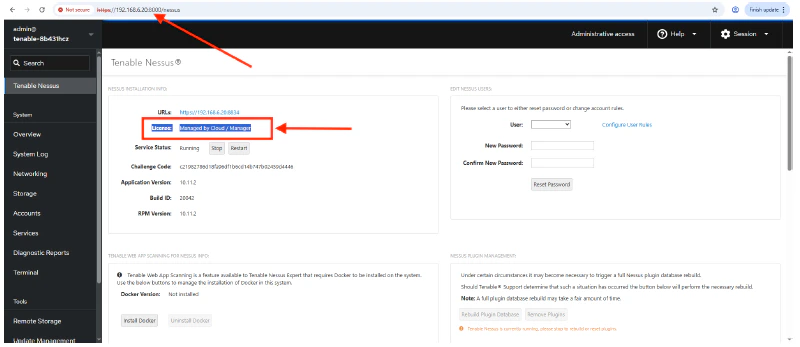
Once you are logged in, you can see the name of the Tenable Sensor. Click Turn on administrative access.

-
Click Authenticate.
-
Check the License of the sensor, and verify that there is no license linking the sensor to the cloud tenant.
-
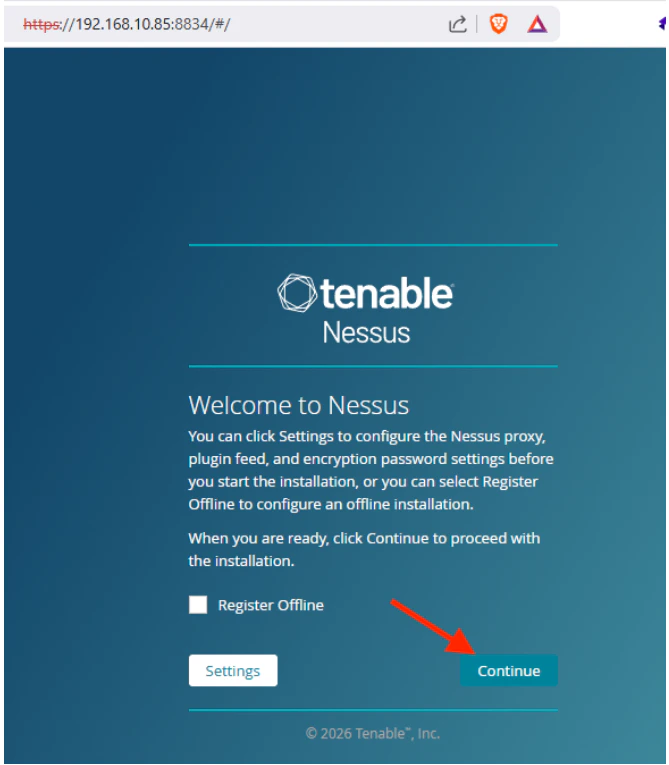
Connect to the Tenable sensor using your web browser on port 8834, and then click Continue.
-
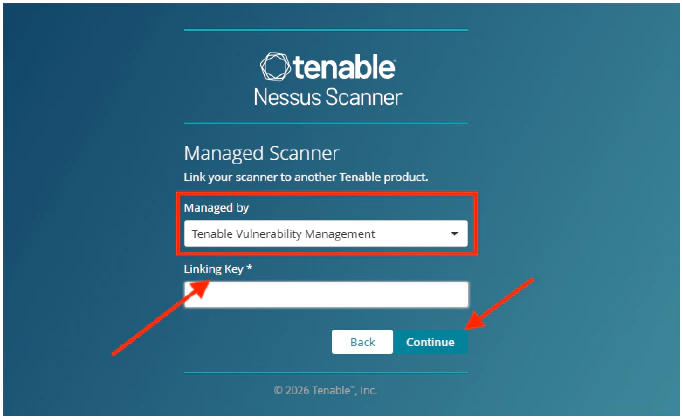
Select the Link Nessus to another Tenable product option, and then click Continue.

- Select the Tenable Vulnerability Management option to manage your linked scanner.
-
Enter the Linking Key. (See Obtain Linking Key section below for details.)
Obtain Linking Key
You may get the Linking Key from Tenable cloud:- Log into cloud.tenable.com

- Click the burger menu, and then select Settings.


- Select Sensors.

- Click Add Nessus Scanner to view the Linking Key.

- Copy the Linking Key.

- Log into cloud.tenable.com
- Once you have entered the Linking Key, click Continue.
-
Enter a Username and Password to create a Nessus administrator user account.

-
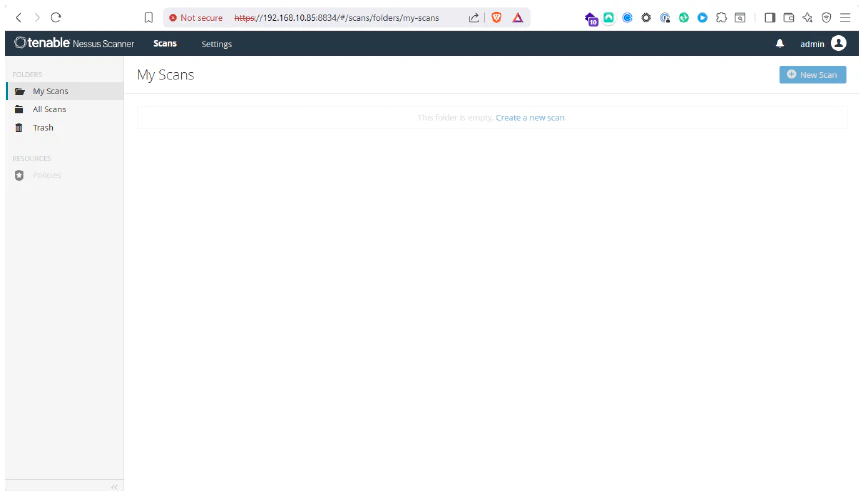
Click Submit. The sensor’s My Scans page opens.
-
Re-connect to the sensor using a web browser to port 8000, and then check the License of the Tenable sensor.
-
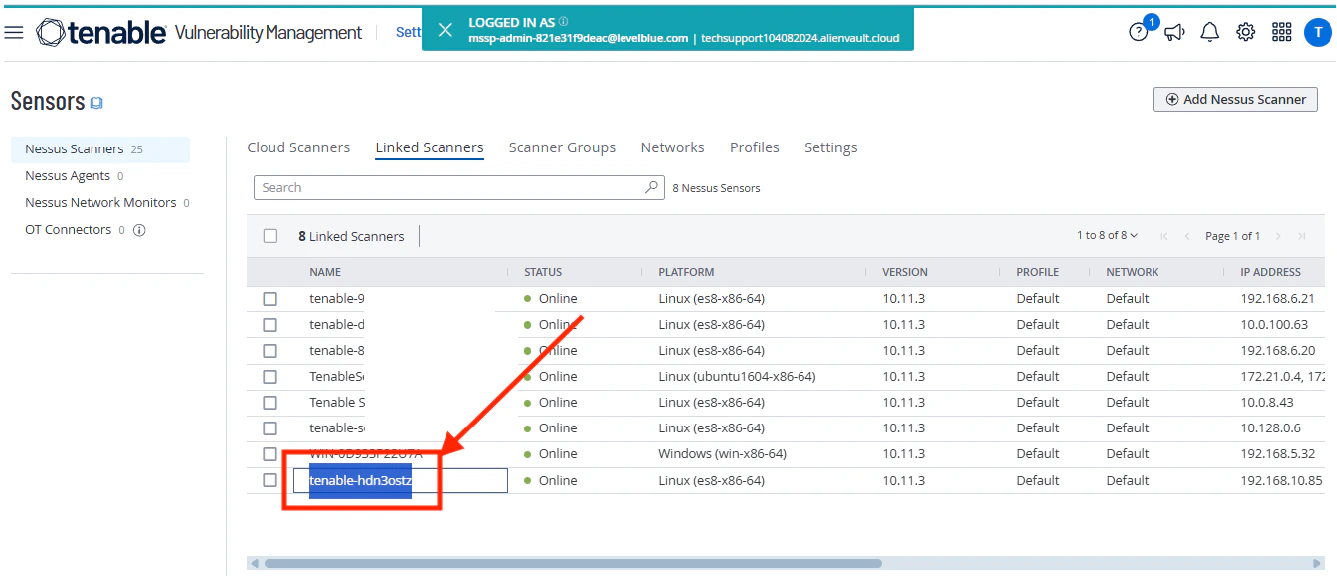
Get the name of the deployed Tenable sensor.

-
Return to the Tenable cloud page, and verify that the Tenable sensor is linked correctly and is in Online status.
Deployment Guides for Tenable Scanners
Tenable Sensor Deployment for Hyper-V
To deploy the Tenable sensor for Hyper-V