- Log into Microsoft Marketplace, and search for Tenable.
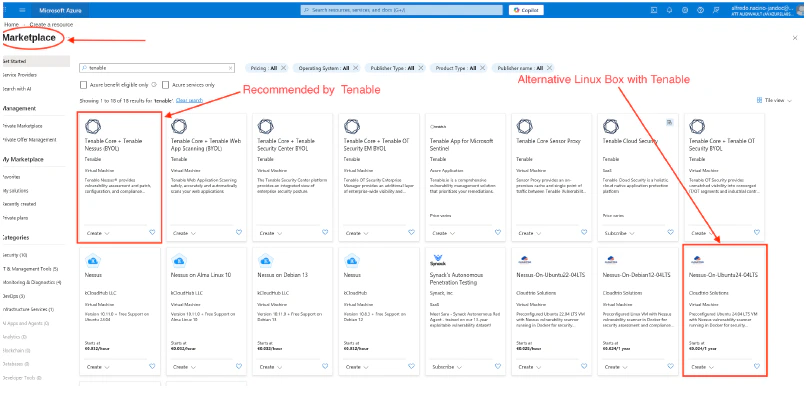
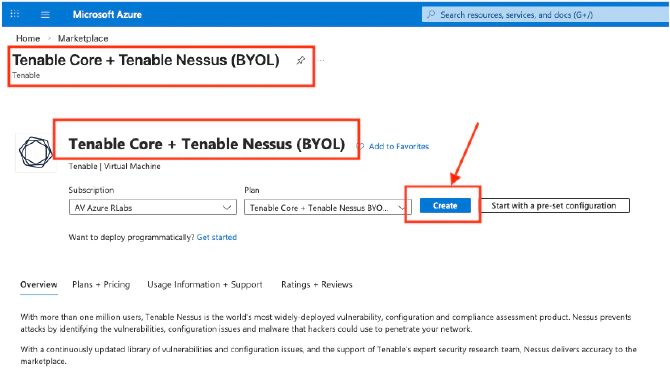
- Select Tenable Core + Tenable Nessus (BYOL).
- Click Create.
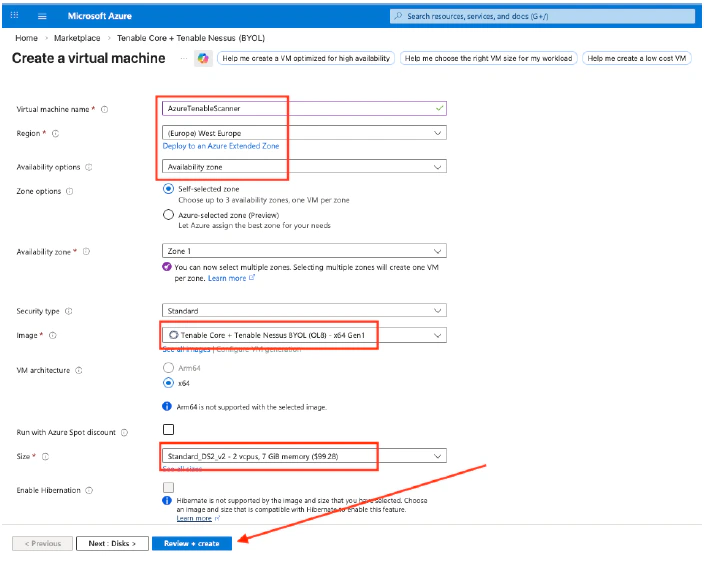
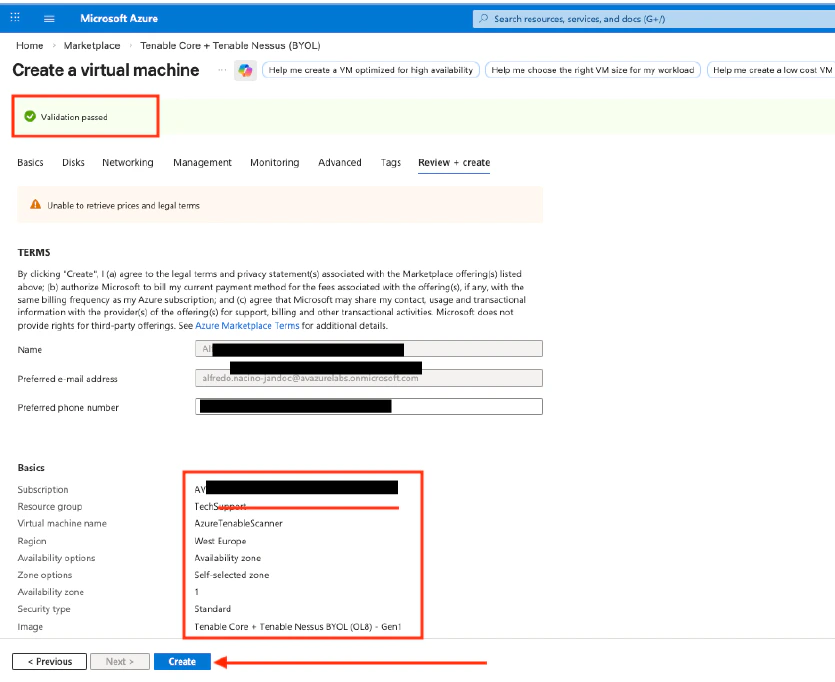
- Enter a Virtual Machine Name, and review the populated information.
- Click Review + Create.
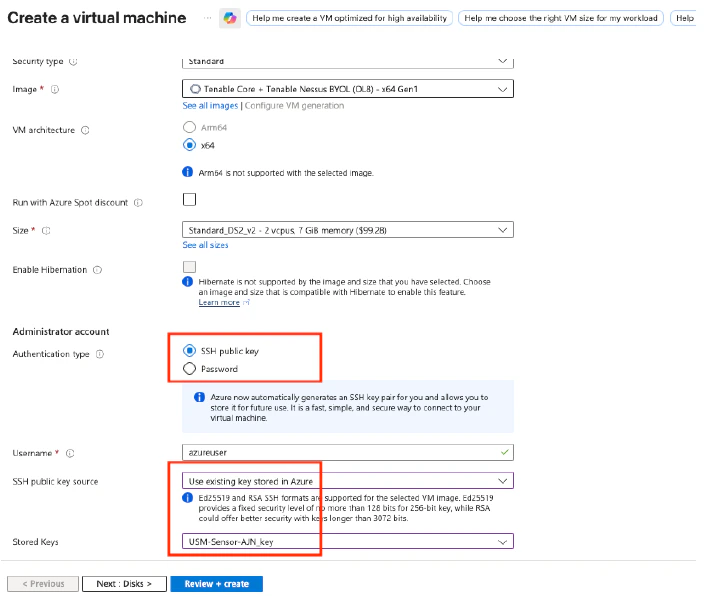
- Adjust the rest of the configuration according to the VM’s authentication method.
- Once the validation is passed, you may proceed to create the VM.
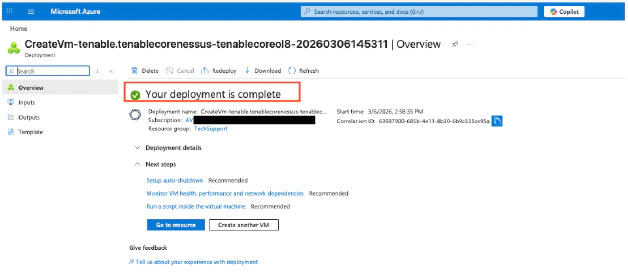
- Wait until the deployment is complete.
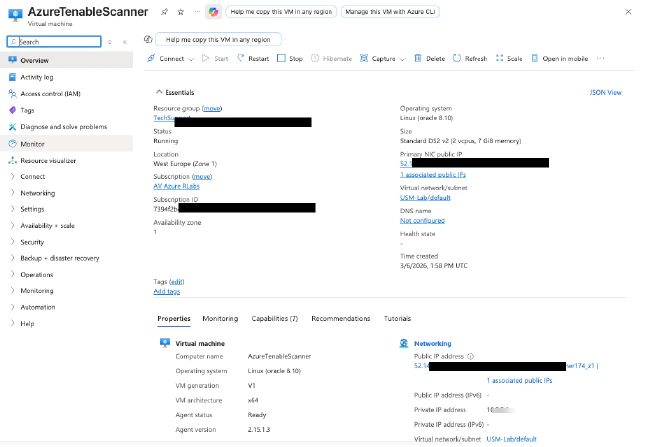
- Take note of the Public and Private IP addresses of the deployed VM.
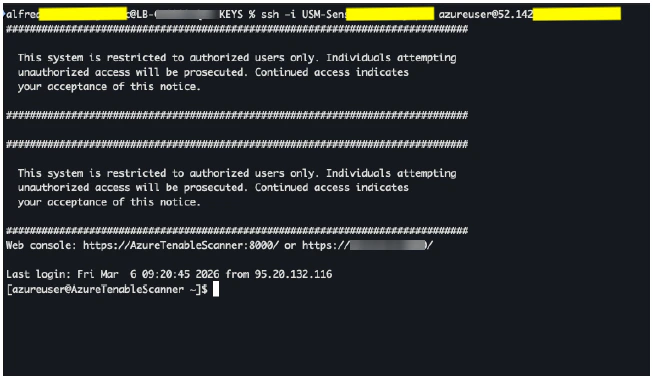
- Connect to the Tenable sensor via SSH.
- Log into cloud.tenable.com to get the Linking Key.
- Click the burger menu, and then select Settings.


- Select Sensors.

- Click Add Nessus Scanner to view the Linking Key.

- Copy the Linking Key.

- In the Tenable sensor CLI, use the Linking Key to link the Tenable sensor.
Once done, you should see a “Successfully linked” message.

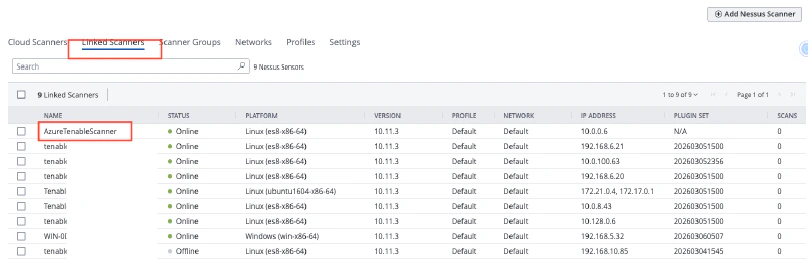
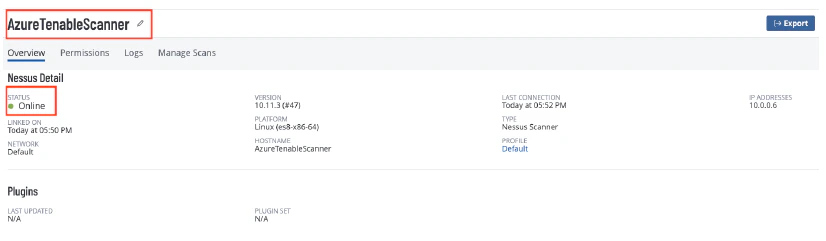
- Return to the Tenable cloud page, and verify that the Tenable sensor is linked correctly and is in Online status.
Deployment Guides for Tenable Scanners
Tenable Sensor Deployment for Azure
To deploy the Tenable sensor for Microsoft Azure