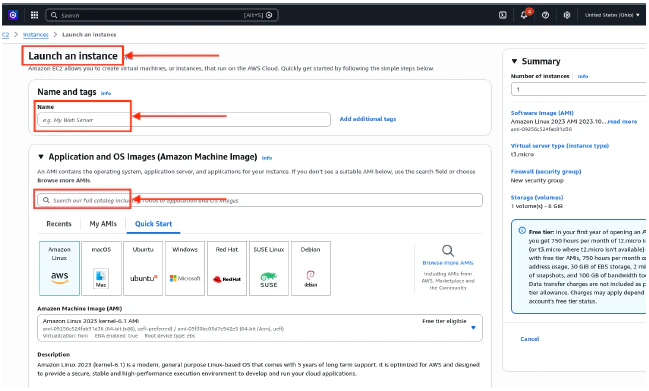
- Log into AWS, and launch a new EC2 instance.
- Enter a Name and tags for the instance.
- Search for and select the Application and OS Images for the instance.
- Select Tenable Core + Tenable Security Center (OL8).
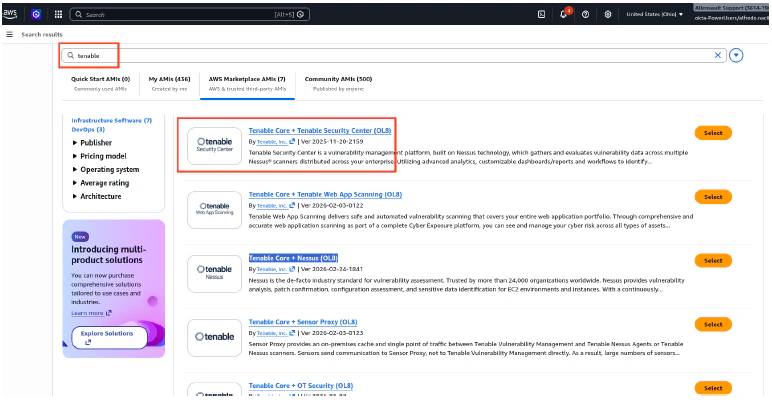
- Select Subscribe Now.

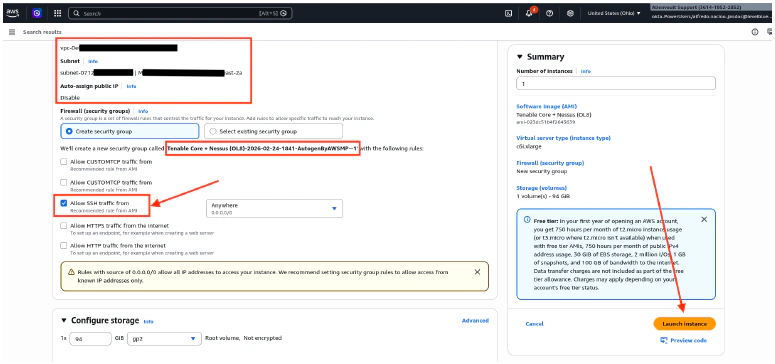
- Set the following configuration:
- Select the Instance Type.
- Select the Key Pair name. This is needed to connect to the instance.
- Enter the VPC and Subnet for the Network Settings.
- Enable the Auto-assign Public IP.
- Enable SSH to access the Tenable sensor.
- Once done, click Launch Instance.

- Continue creating the VM until you get a successful confirmation message.
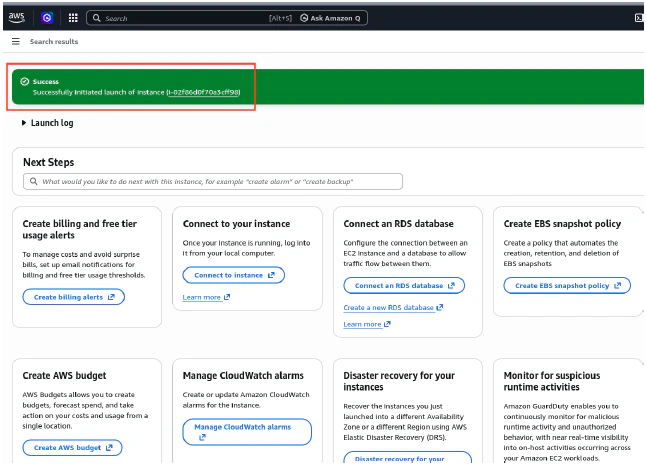
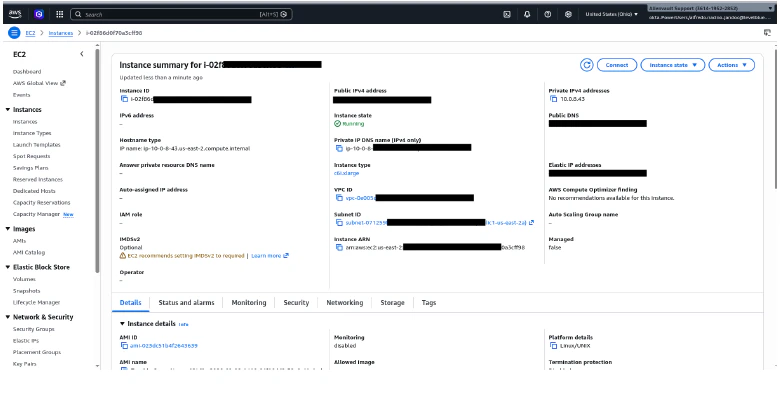
- Take note of the Public and Private IP addresses of the deployed VM.
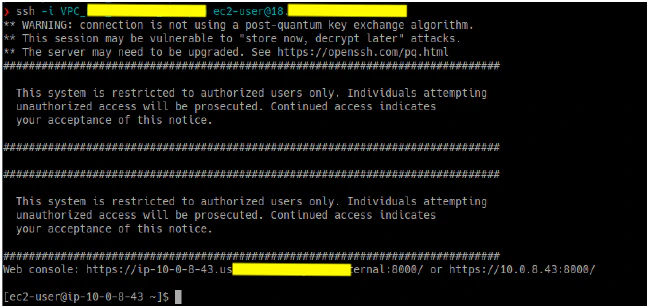
- Connect to the Tenable sensor via SSH.
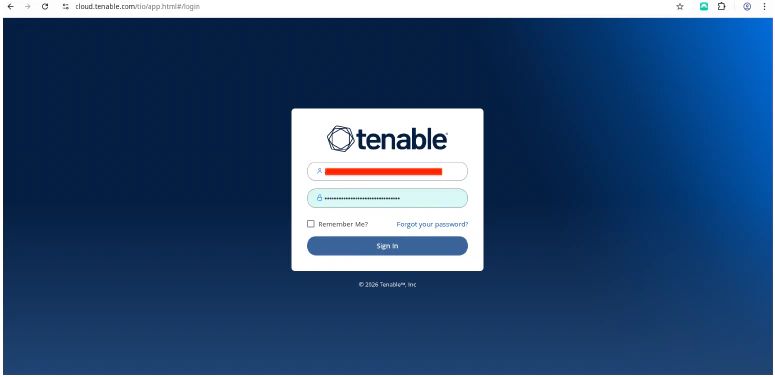
- Log into cloud.tenable.com to get the Linking Key.
- Click the burger menu, and then select Settings.


- Select Sensors.

- Click Add Nessus Scanner to view the Linking Key.

- Copy the Linking Key.

- In the Tenable sensor CLI, use the Linking Key to link the Tenable sensor.
Once done, you should see a “Successfully linked” message.


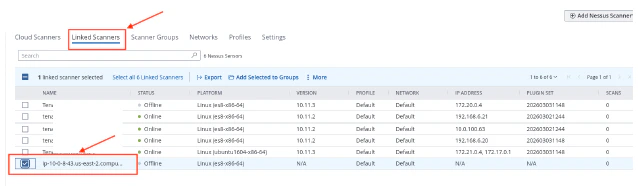
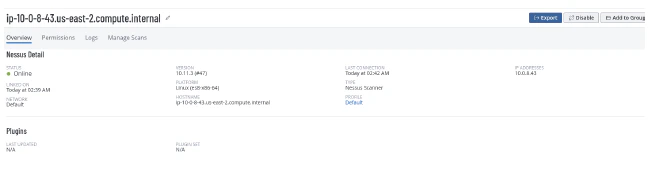
- Return to the Tenable cloud page, and verify that the Tenable sensor is linked correctly and is in Online status.
Deployment Guides for Tenable Scanners
Tenable Sensor Deployment for AWS
To deploy the Tenable sensor for AWS