Note: Before creating an orchestration rule or launching a response action, the BlueApp for Carbon Black EDR must be enabled and configured. See Configuring the BlueApp for Carbon Black EDR for more information.
-
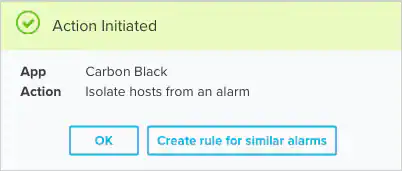
From an Applied Response Action: You can automatically create a rule using the response action that you apply to an existing alarm. This makes it easy to set the matching conditions for the rule based on the existing item and use the same settings that you applied to that item.
In the confirmation dialog box, click Create rule for similar alarms.
-
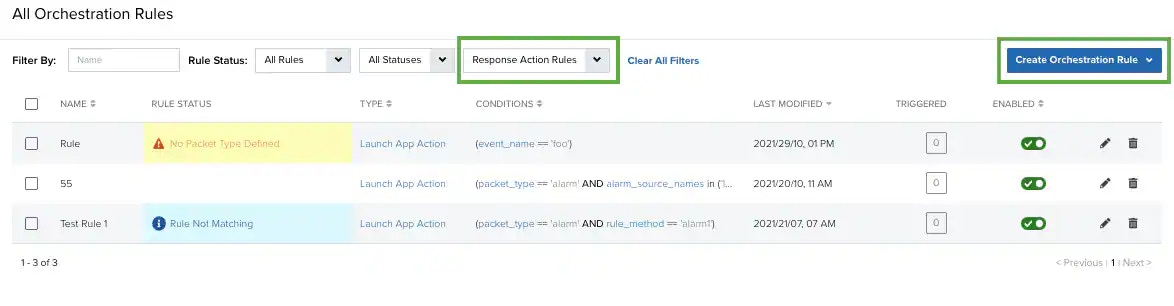
From the Rules page: The Rules page provides access to all of your orchestration rules. The Orchestration Rules list includes suppression rules, alarm rules, event rules, filtering rules, notification rules, and response action rules. You can create new rules using the specific matching conditions that you define, as well as edit, delete, and enable or disable rules. See Orchestration Rules for more information about managing orchestration rules.
In the left navigation menu, go to Settings > Rules > Orchestration Rules. Then click Create Orchestration Rule > Response Action Rule to define the new rule.
- Enter a name for the rule.
-
Select the App Action for the rule and specify the information for the action.
The parameters you can set for Carbon Black EDR depends on the action that you select:
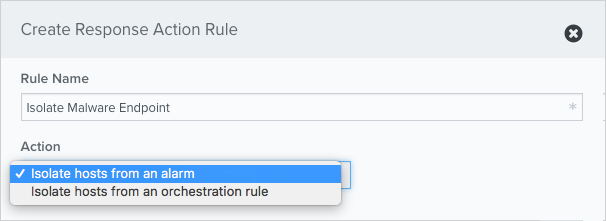
Isolate hosts from an alarm
This is the default action. Use this action to trigger the rule for alarms that satisfy the matching criteria. Select a Location for the triggered action.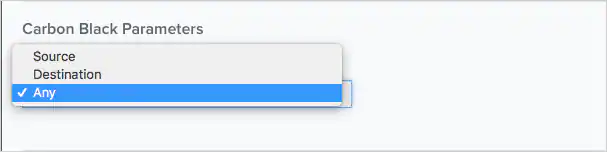
- Source: Use this option to isolate the source endpoint of the alarm.
- Destination: Use this option to isolate the destination endpoint of the alarm.
- Any: Use this option to let the system search for the Carbon Black EDR endpoints using the IP addresses in the alarm and isolate those that are identified.
Isolate hosts from an orchestration rule
Select the asset to be isolated.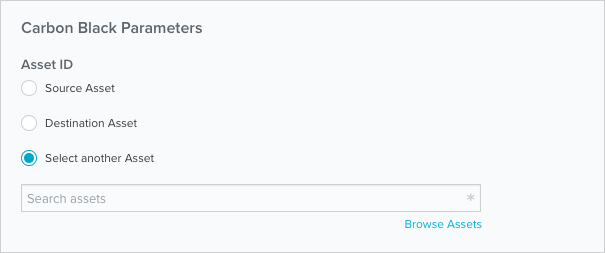
- Source Asset: Use this option to isolate the source endpoint of the alarm.
- Destination Asset: Use this option to isolate the destination endpoint of the alarm.
- Select another Asset: Use this option to isolate the endpoint for a specified asset. Use the search field or click Select from List to locate and select the asset.
-
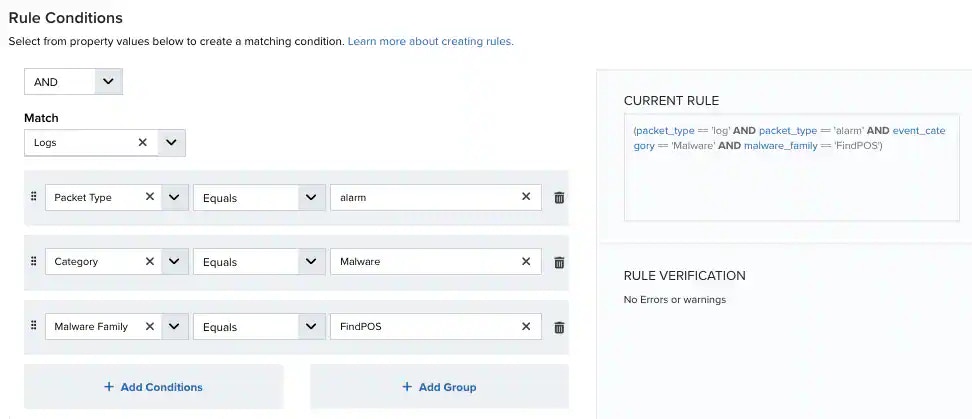
At the bottom of the dialog box, set the rule condition parameters to specify the criteria for a matching alarm or event to trigger the rule.
- This section provides suggested property/value pairs from the selected alarm or event that you can use as conditions for the rule. Click the
 icon to delete the items that you do not want to include in the matching conditions. You can also add other conditions that are not suggested.
 - If you create the rule from the Rules page, you must use the Add Condition and Add Group functions to define the property/value pairs that you want to use as conditions for the rule.
- At the bottom of the dialog box, click More to display the optional multiple occurrence and window-length parameters.
Conditional Expression
Select an operator and add one or more conditions to form the conditional expression. You can include a condition group to evaluate a subset of conditions. The Current Rule pane displays the constructed expression in standard syntax. The box displays a red border if the expression is syntactically invalid as currently specified. A valid expression is required to save the rule definition.Select the operator used to determine the match for multiple conditions:- AND: Match all conditions.
- OR: Match any one condition.
- AND NOT: Exclude items matching all conditions after the first.
- OR NOT: Include all items that do not match any conditions after the first.
Occurrences
Specify the number of event or alarm occurrences that produce a match on the conditional expression to trigger the rule. The default value is 1. You can enter the number of occurrences or use the arrow to scroll the value up or down.USM Anywhere uses this in conjunction with the Length option to specify the number of occurrences within a time period that will trigger the rule. For example, you can define a rule to trigger for an unauthorized access attempt when a failed login occurs three times within a five-minute window.Length
Specify the length of the window to identify a match for multiple occurrences. Enter the number and choose a time unit value of seconds, minutes, or hours. This time period identifies the amount of time that transpires from the first occurrence to the last occurrence. If the number of occurrences is not met within this period, the rule does not trigger. - This section provides suggested property/value pairs from the selected alarm or event that you can use as conditions for the rule. Click the
- Click Save Rule.
- In the confirmation dialog box, click OK.